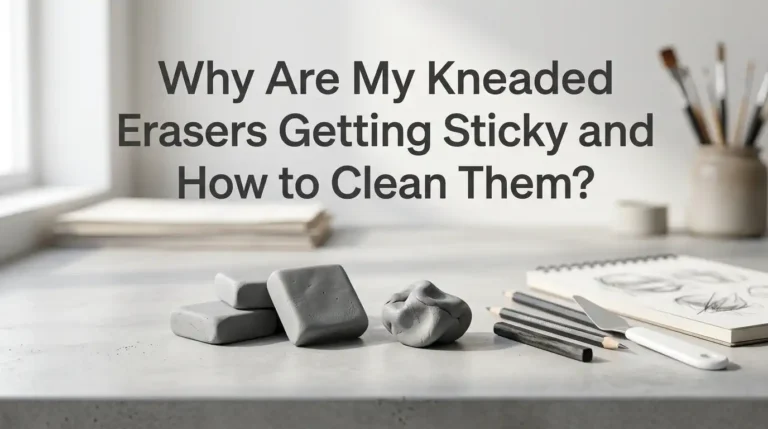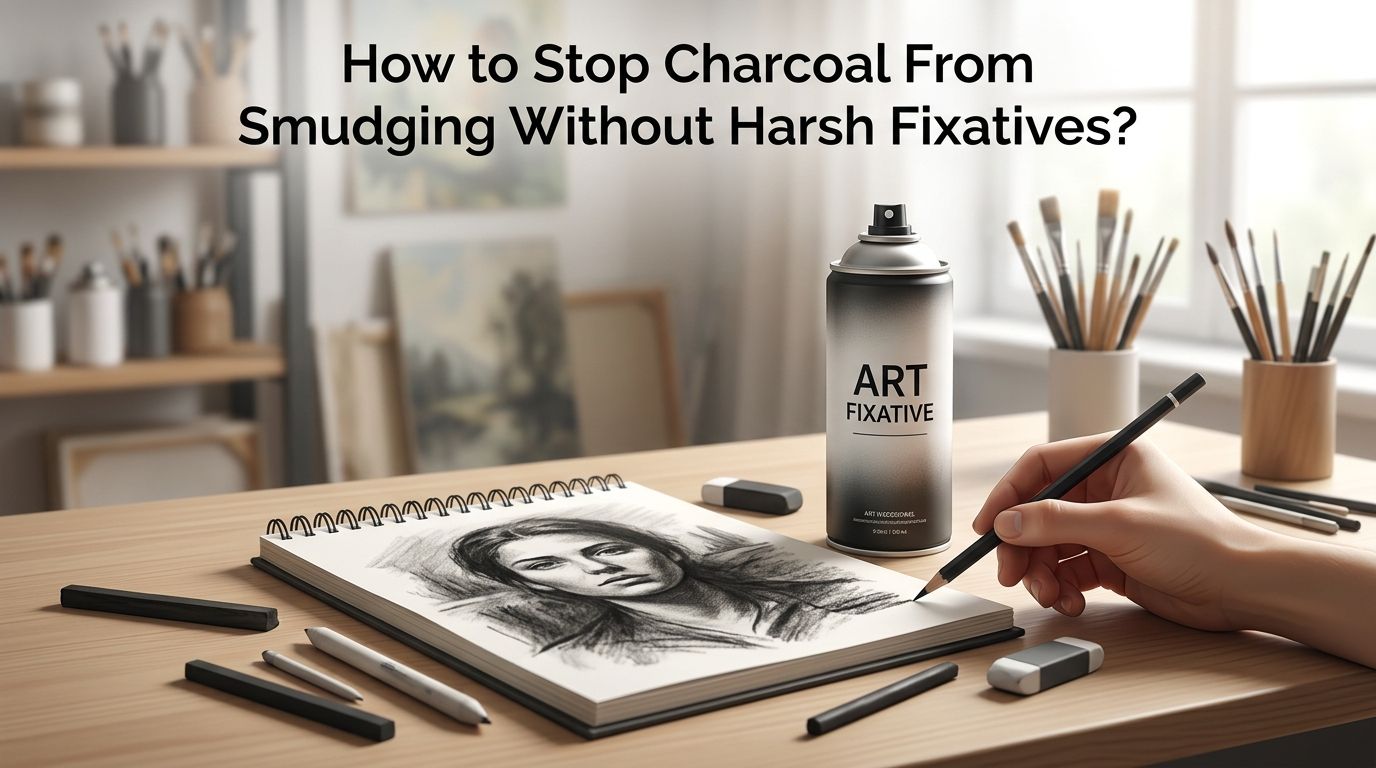
How to Stop Charcoal From Smudging Without Harsh Fixatives?
You just spent hours on a beautiful charcoal drawing. You step back, admire it, and then your hand brushes the surface. A dark smear ruins everything.
This is one of the most frustrating experiences for any charcoal artist. The usual solution is a harsh aerosol fixative. But those sprays are full of chemicals, produce strong fumes, and can even change the look of your art. So what do you do?
The good news is you do not need toxic aerosol sprays to protect your charcoal work. There are several safe, effective, and affordable methods that keep smudging under control.
Key Takeaways
- Charcoal smudges because loose particles sit on the paper surface. The key to prevention is either binding those particles to the paper or creating a physical barrier that stops them from moving. Understanding this basic fact opens the door to many solutions beyond aerosol sprays.
- Skim milk works as a natural fixative. You can mist it lightly over charcoal drawings with a spray bottle. The casein protein in the milk binds the charcoal to the paper as it dries. Van Gogh and other historical artists used this method with great results.
- Paper choice matters more than most artists realize. Paper with a strong “tooth” or rough texture grips charcoal particles much better than smooth paper. Choosing the right surface from the start reduces smudging before it even becomes a problem.
- Glassine paper is your best friend for storage. This smooth, acid free paper acts as a protective barrier between your drawing and anything that could touch it. Museum conservators use it to store delicate artwork.
- Proper framing behind glass with spacers is the gold standard for display. A mat or spacer keeps the glass from touching your charcoal surface. This eliminates the need for fixatives entirely on displayed work.
- Homemade casein fixative gives you full control over ingredients. You can make a safe, non toxic fixative from casein powder, water, and grain alcohol. This is the same formula used in many professional non aerosol fixatives.
Why Charcoal Smudges So Easily
Charcoal is essentially burned organic material ground into fine particles. When you draw with charcoal, these particles rest loosely on the paper surface. They are not absorbed into the fibers like ink or paint.
This loose bond is what gives charcoal its beautiful soft quality. It creates rich, velvety darks and smooth gradations. But it also means that any contact with the surface will move those particles around.
The problem gets worse with compressed charcoal and heavy applications. More charcoal on the surface means more material available to smear. Even vine charcoal, which is lighter, can still transfer to your hands or other surfaces if left unprotected.
Choose the Right Paper to Reduce Smudging
The paper you use plays a critical role in how much your charcoal smudges. Paper with a heavy tooth or textured surface grips charcoal particles inside its tiny grooves and valleys. This holds the material in place far better than smooth paper.
Cold press watercolor paper, rough drawing paper, and specialty charcoal papers all have strong tooth. These surfaces trap charcoal deep into the texture. The result is a drawing that resists casual smudging much better than one made on smooth hot press paper.
Pros: Reduces smudging from the start, no chemicals needed, improves charcoal application and blending control.
Cons: Textured paper changes the look of your drawing. Fine detail work can be harder on very rough surfaces.
Use Skim Milk as a Natural Fixative
This method has been used for centuries. Skim milk contains casein, a natural protein that binds charcoal particles to the paper as it dries. Van Gogh reportedly used this exact technique on his drawings.
Pour a small amount of skim or nonfat milk into a clean, fine mist spray bottle. Hold the bottle about 12 inches from your drawing. Spray a very light, even mist over the surface. Let it dry completely before touching the drawing. You can apply a second light coat for extra protection.
Pros: Cheap, non toxic, easy to find, historically proven, does not change the color of the drawing much.
Cons: Can cause slight warping on thin paper. May attract insects over very long time periods if not stored properly. Not as strong as commercial fixatives.
Make a Homemade Casein Fixative
If you want a stronger version of the milk method, you can make a casein fixative from scratch. This is the same base ingredient used in professional non aerosol fixatives. The recipe is simple and the results are reliable.
Mix 2 parts casein powder with 5 parts water and let it sit until the powder dissolves into a gel. Then thin the mixture with grain alcohol (such as vodka or Everclear) until it reaches a sprayable consistency. Pour this into a fine mist spray bottle and apply it the same way you would apply the milk fixative.
The alcohol helps the mixture dry quickly and evenly. The casein binds the charcoal to the paper surface. This method gives you full control over the strength and ingredients of your fixative.
Pros: Non toxic, archival quality, strong hold, customizable strength, no harsh fumes.
Cons: Requires sourcing casein powder. Takes some trial and error to get the right consistency.
Protect Drawings With Glassine Paper
Glassine is a smooth, translucent, acid free paper that museum conservators use to protect delicate artwork. It is one of the simplest and most effective ways to prevent charcoal smudging during storage or transport.
Cut a sheet of glassine slightly larger than your drawing. Place it directly over the charcoal surface. The smooth texture of glassine does not grip or pull charcoal particles the way regular paper does. It creates a protective barrier without sticking to or damaging the drawing.
You can tape the glassine to the back of your drawing or simply lay it on top when storing artwork in a portfolio. Many artists keep a roll of glassine in their studio for this exact purpose.
Pros: Cheap, reusable, acid free, no chemicals, does not alter the drawing, trusted by museum professionals.
Cons: Only protects during storage. Does not fix the charcoal to the paper permanently.
Frame Your Work Behind Glass With Spacers
Framing is the best long term solution for displaying charcoal drawings. The key detail is to use a mat or spacer between the glass and the drawing surface. If the glass touches the charcoal directly, static electricity can pull particles off the paper and ruin the image.
A standard window mat provides enough space to keep the glass away from the art. You can also use frame spacers, which are small strips that sit inside the frame and create an invisible gap. This setup protects the drawing from dust, moisture, and physical contact.
Pros: Permanent protection, professional appearance, no chemicals needed, prevents dust buildup.
Cons: More expensive than other methods. Requires proper framing materials and some skill to assemble.
Use a Mahl Stick While Drawing
Prevention is often the best cure. A mahl stick is a simple tool that keeps your hand elevated above the drawing surface while you work. It is a long stick with a padded end that rests on the edge of your easel or drawing board.
You lean the stick across your work area and rest your drawing hand on it. This prevents your palm, fingers, and wrist from dragging across finished areas of the drawing. Professional charcoal and pastel artists have used mahl sticks for hundreds of years.
You can buy one or make your own from a wooden dowel with a small cloth ball taped to one end. This simple tool can save you from accidental smudges during the entire drawing process.
Pros: Prevents smudges during creation, cheap to make, reusable, improves hand stability.
Cons: Takes some practice to use comfortably. Not useful for protecting the finished drawing.
Apply Diluted PVA Glue or Acrylic Matte Medium
Some artists use a very diluted solution of PVA glue or acrylic matte medium as a fixative. This method creates a thin, transparent layer over the charcoal that binds it to the paper.
Mix a small amount of PVA glue or matte medium with water. The ratio should be roughly 1 part medium to 4 or 5 parts water. Apply it gently with a soft, wide brush or a spray bottle. Work carefully to avoid disturbing the charcoal underneath.
Let the layer dry completely. It will become transparent and hold the charcoal firmly in place. This method works best as a final seal on a completed drawing rather than a workable fixative for drawings in progress.
Pros: Strong hold, readily available materials, creates a durable surface, affordable.
Cons: Can slightly darken or change the tone of the charcoal. Brush application risks smearing the drawing. Not easily reversible.
Work in Layers With Light Fixative Applications
One effective strategy is to build your charcoal drawing in layers and apply a light natural fixative between each stage. This locks down each layer before you add the next one.
Start with your initial sketch and broad tonal areas. Mist lightly with your chosen fixative, whether skim milk, casein solution, or diluted matte medium. Let it dry. Then add your next layer of detail and shading. Fix again. Repeat until the drawing is complete.
This approach gives each layer a chance to bond with the paper before new charcoal is applied on top. It reduces the total amount of loose material on the final surface. Many professional charcoal and pastel artists use this layered method as standard practice.
Pros: Builds strong adhesion throughout the drawing, allows deep layering, reduces smudging at every stage.
Cons: Adds time to the drawing process. Multiple fixative applications can build up and change the surface texture.
Handle and Store Your Drawings Correctly
Even with fixative, careless handling will smudge charcoal drawings. Always pick up your work by the edges or corners. Never slide drawings across each other or stack them face to face without a barrier.
Store drawings flat whenever possible. Place a sheet of glassine or acid free tissue paper between each drawing in your portfolio. Keep the portfolio in a dry, cool location away from direct sunlight.
If you need to transport a drawing, sandwich it between two stiff boards and secure them with clips or tape. This prevents the drawing from shifting and rubbing against other surfaces during travel.
Pros: Simple habits that cost nothing, dramatically reduce accidental damage, extend the life of your artwork.
Cons: Requires consistent discipline. Does not fix the charcoal to the paper.
Use a Gel Plate Transfer as an Alternative
A newer technique involves using a gel printing plate to transfer and seal charcoal drawings. You press the gel plate gently onto your charcoal drawing. The gel picks up a mirror image of the charcoal. You then press the gel plate onto a new sheet of paper to transfer the image.
The transferred image is embedded into the surface of the new paper rather than sitting loosely on top. This creates a much more stable final piece. Some artists use this method to create prints from their charcoal originals.
Pros: Creates a smudge resistant final image, allows multiple prints from one drawing, fun creative technique.
Cons: The transfer is a mirror image. Some detail may be lost. Requires a gel plate. Not suitable if you want to preserve the original drawing.
Avoid Common Mistakes That Increase Smudging
Several common habits make charcoal smudging worse. Overloading the paper with charcoal is the biggest one. Apply only as much charcoal as the paper tooth can hold. Excess material will sit on the surface with nothing to grip.
Using your bare hands to blend also increases the amount of loose charcoal moving around the page. Use blending stumps, tortillons, or chamois cloth instead. These tools give you more control and leave less residue on the surface.
Another mistake is working on a tilted surface without protection. Gravity pulls loose charcoal dust down the paper, creating unwanted marks. If you work at an easel, keep a clean cloth at the bottom edge of your drawing to catch falling dust.
Frequently Asked Questions
Does hairspray work as a charcoal fixative?
Hairspray can temporarily reduce smudging, but it is not a good long term solution. It often contains chemicals that yellow over time and can damage the paper. Hairspray also produces fumes similar to aerosol fixatives. Skim milk or a homemade casein fixative is a safer and more archival choice.
Can I use clear acrylic spray instead of fixative?
Clear acrylic spray can seal a charcoal drawing, but it often creates a glossy finish that changes the look of the artwork. It can also darken the charcoal significantly. If you choose this route, use a matte finish spray and apply it in very light coats from a distance of at least 12 inches.
How many coats of natural fixative should I apply?
Two to three light coats are usually enough. Always let each coat dry completely before applying the next one. Heavy application can cause pooling, which will disturb the charcoal and potentially warp the paper. Less is more with any fixative method.
Will milk fixative make my drawing smell?
Skim milk fixative has little to no smell once it dries. The thin layer of casein left behind is odorless. If you are concerned, you can add a small amount of grain alcohol to the milk before spraying. This helps it dry faster and eliminates any potential odor.
Is it possible to make charcoal completely smudge proof?
No charcoal drawing will ever be 100% smudge proof without a thick protective coating that changes the nature of the medium. The goal is to reduce smudging to a manageable level while preserving the soft, expressive quality that makes charcoal special. A combination of good paper, careful technique, light fixative, and proper framing gives you the best results.
What is the best paper for charcoal drawings that resist smudging?
Papers with a heavy tooth like Canson Mi Teintes, Strathmore 400 Series, or rough watercolor paper work very well. The textured surface grips charcoal particles firmly. This gives your drawings better resistance to casual contact and light friction right from the start.

Hi, I’m Zoe Ward, the creator and voice behind Fine Brush Vault. I’m passionate about art, painting, and exploring the world of colors. I spend my time testing and reviewing art supplies to help fellow creators find the best tools for their craft. Through honest reviews and detailed guides, my goal is to make your creative journey easier and more inspiring.