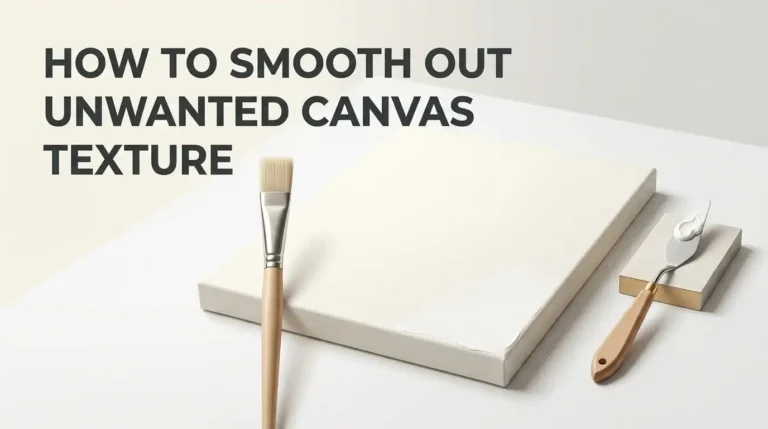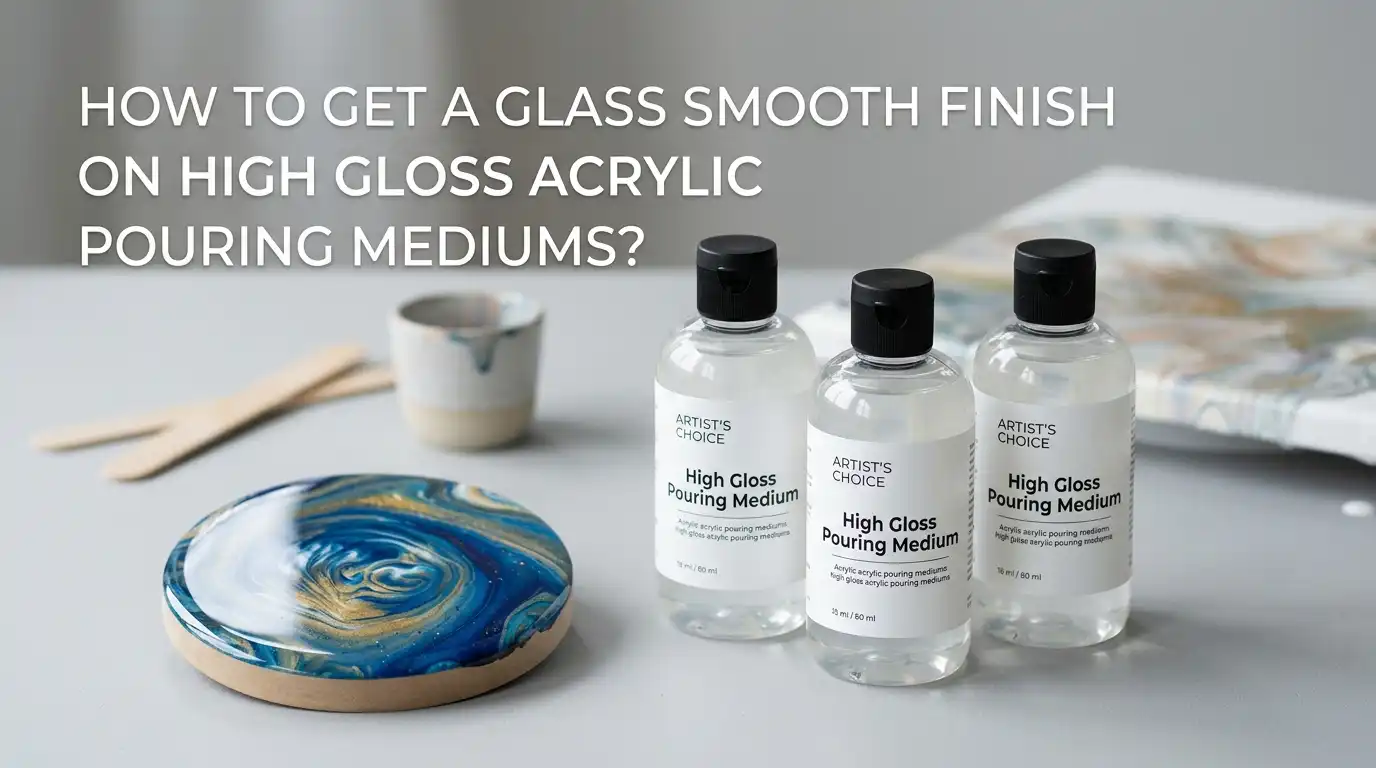
How to Get a Glass Smooth Finish on High Gloss Acrylic Pouring Mediums?
Brush strokes can ruin the mirror like shine of a beautiful acrylic pour. You spend hours building layers, watching cells bloom, and waiting for the paint to dry. Then one careless varnish coat leaves streaks across the surface.
This guide walks you through every reason brush strokes appear and how to stop them. You will learn the exact tools, techniques, and product types that produce a flawless finish. Each section gives you steps you can use today, even if you are new to acrylic pouring.
Let us fix that glossy top coat for good.
Key Takeaways
- Brush strokes often come from the wrong tool, not the wrong product. A stiff bristle brush drags through gloss medium and leaves visible lines. Switch to a foam applicator, soft synthetic brush, or sprayer for smoother results.
- Thin layers always beat thick layers. Heavy coats trap air, dry unevenly, and hold every stroke. Two or three thin passes self level much better than one thick pour.
- Self leveling gel and pouring medium are your friends. These products flow out on their own and erase small tool marks as they dry. Mix them into your top coat or use them as a final flood coat.
- Work in one direction and stop while wet. Going back over a tacky surface pulls the medium and creates streaks. Lay it down, smooth it once, and walk away.
- Environment matters as much as technique. Dust, drafts, low humidity, and cold rooms all change how gloss medium dries. A warm clean space gives the best results.
- Sanding and recoating fix most mistakes. If you already have brush strokes on a finished piece, you can rescue it with fine sandpaper and a fresh thin coat.
Why Brush Strokes Show Up in High Gloss Mediums
High gloss mediums show every flaw. The shiny surface acts like a mirror and bounces light off any ridge or dip. A matte finish hides texture, but gloss puts it on full display.
Most brush strokes come from three causes. The medium is too thick, the tool is too stiff, or the applicator moves too slowly across the surface. Each cause has a fix, but you need to know which one is happening to you.
Temperature and humidity also play a big role. A cold room slows drying and lets the medium settle. A hot room speeds up drying and freezes brush marks in place before they can level. Aim for a room around 70°F with moderate humidity for the best self leveling action.
Pros of understanding the cause: you stop guessing and start fixing the real problem. Cons: it takes a few test pieces to learn what your studio conditions need.
Choose the Right Type of Pouring Medium
Not every pouring medium gives the same finish. Some are made for cell creation, others for flow, and only a few are formulated for a glass like top coat. Picking the wrong medium is the most common cause of streaks.
Look for products labeled “self leveling,” “high gloss pouring medium,” or “clear pouring topcoat.” These have a thicker, slower drying formula that flows out under its own weight. Examples include Liquitex Pouring Medium, Golden Self Leveling Gel, and Floetrol mixed with a clear gloss varnish.
Avoid using thick body gel or matte medium for a top coat. They dry with texture and hold every brush mark. Thin body, glossy, and self leveling are the words you want on the label.
Pros of using a true pouring medium: smooth surface, fewer strokes, better clarity. Cons: these products cost more than cheap craft store gloss and dry slowly, so you need patience and a dust free space.
Mix the Medium to the Right Consistency
Thickness controls everything. A medium that is too thick will hold every stroke. One that is too thin will run off the canvas and pool at the edges. You want a consistency like warm honey or melted ice cream.
To test it, lift your stir stick out of the cup. The medium should drip in a slow, steady ribbon that disappears back into the surface within five seconds. If it drips in clumps, thin it. If it runs off like water, add more medium.
Most pouring mediums need a small amount of water or flow improver. Start with 10 percent water by volume and stir gently. Avoid shaking, which traps bubbles that pop later and leave craters.
Pros of correct consistency: the medium spreads itself with very little help. Cons: every brand mixes differently, so you may need to test on a sample board before applying to your finished piece.
Use a Foam Roller Instead of a Brush
A foam roller is the easiest fix for brush strokes. The soft surface lays down a thin even coat without leaving bristle marks. Many pour artists swear by a high density foam roller for varnishing high gloss tops.
Choose a roller with very fine pores, sometimes called a “high density foam mini roller.” Big pores leave a stippled orange peel texture. The smaller the pores, the smoother the finish.
Load the roller lightly and roll in one direction across the canvas. Do not press hard. Let the weight of the roller spread the medium. Finish each pass with a feather light lift to avoid pull marks.
Pros: covers fast, no bristle lines, easy for beginners. Cons: foam rollers can leave tiny bubbles that need popping with a heat gun, and they are usually one time use because dried medium ruins them.
Try a Soft Synthetic Brush With Long Bristles
If you prefer a brush, pick the right one. Stiff hog hair brushes are the worst choice for gloss medium. Soft synthetic brushes with long, flexible bristles glide over the surface and leave fewer marks.
Look for brushes labeled “varnish brush” or “mottler.” Wide flat heads cover more area in fewer strokes, which means fewer chances to leave a line. Some artists also use Taklon brushes for their soft tips.
Wet the brush slightly with water before dipping into the medium. A damp brush releases the gloss medium more evenly than a dry one. Tap off the excess on the rim of your container, never wipe, to avoid bubbles.
Pros: precise control, good for edges and corners, reusable if cleaned well. Cons: even soft brushes can leave faint lines, and you must work fast before the medium tacks up.
Pour and Tilt for a True Flood Coat
The cleanest finish comes from no tool at all. A flood coat means pouring the medium directly onto the canvas and tilting until it covers every inch. The medium levels itself perfectly because gravity does the work.
Place your painting on a level surface. Use a spirit level to check, since even a small tilt makes the medium pool to one side. Pour a generous puddle in the center and let it spread. Lift each corner slightly to guide the flow.
Use a gloved finger or a silicone scraper to nudge the medium over dry spots. Pop bubbles with a quick pass of a heat gun or torch held at least eight inches away.
Pros: zero brush strokes, mirror like clarity, professional look. Cons: uses much more medium than brushing, drips off the edges, and requires a perfectly level drying area for at least 24 hours.
Apply Multiple Thin Coats Instead of One Thick One
Thick coats are tempting because they cover faster. They are also the main cause of brush strokes, cracking, and cloudy finishes. Two or three thin coats always look better than one heavy coat.
Wait until each layer feels dry to the touch before adding the next. This usually takes four to six hours for a thin coat of pouring medium. Rushing leads to lifting and streaks.
Sand very lightly between coats with 600 grit wet sandpaper. This removes any small dust nibs and gives the next coat something to grip. Wipe the surface clean with a damp lint free cloth before recoating.
Pros: fewer flaws, stronger final film, easier to fix mistakes between layers. Cons: takes longer overall, uses more product, and you have to keep dust off the piece for several days.
Control Dust, Drafts, and Bubbles
A perfect application can still fail if dust lands in the wet medium. Every speck shows up in high gloss like a bump on glass. Clean your space before you start.
Vacuum the floor, wipe surfaces, and turn off ceiling fans an hour before pouring. Cover the painting with a large cardboard box or plastic tote while it dries. Cut a small breathing gap so moisture can escape.
Pop air bubbles with a kitchen torch or heat gun within the first ten minutes. Hold the flame at least six inches from the surface and keep it moving. Lingering in one spot will burn or yellow the medium.
Pros of dust control: clear glass like finish, no need to sand later. Cons: you cannot work in a busy or pet filled room, and torching takes practice to avoid burn marks.
Sand and Recoat to Fix Existing Brush Strokes
If your painting already has brush strokes, do not panic. You can almost always fix them with light sanding and a fresh top coat. This works on cured pieces that are at least seven days old.
Start with 400 grit wet sandpaper and water. Sand in small circles with very light pressure until the shine becomes a uniform matte haze. Move up to 600 and then 800 grit for an even smoother base. Wipe clean and let dry fully.
Apply a new thin coat of self leveling gloss medium using a foam roller or flood coat method. The fresh layer will fill the sanding scratches and give you a streak free shine.
Pros: rescues a finished piece, cheaper than starting over. Cons: takes a full day of sanding and recoating, and aggressive sanding can dull deep colors if you go too far.
Use a Spray Varnish for the Final Layer
Spray varnish removes the human hand from the equation. No tool touches the surface, so no streaks can form. This method works well for small to medium canvases.
Choose a high gloss acrylic spray varnish made for fine art. Hold the can about ten to twelve inches from the canvas. Spray in light overlapping passes, keeping the can moving the whole time. Let each coat dry for thirty minutes before the next.
Build up three or four light coats rather than one heavy coat. Heavy spraying causes drips and a cloudy finish. Always spray outdoors or in a vented area with a respirator mask.
Pros: zero brush strokes, even coverage, fast drying. Cons: fumes are strong, finish is less glossy than a flood coat, and overspray can ruin nearby surfaces. Wind also affects spray patterns outdoors.
Try a Resin Top Coat for the Glossiest Finish
If you want the deepest, glassiest shine possible, epoxy resin beats every pouring medium. Resin self levels into a thick, mirror like coating that no brush ever touches. It is the same finish you see on bar tops and river tables.
Mix two part epoxy resin made for art, such as ArtResin or similar non yellowing brands. Pour it onto a level canvas and spread with a gloved hand or silicone spreader. Pop bubbles with a torch.
Resin cures in 24 to 72 hours and produces a hard plastic surface. It is much thicker than acrylic medium and adds real depth to the colors below.
Pros: unmatched gloss and clarity, fully waterproof, very durable. Cons: cost is higher, fumes need ventilation, resin can yellow over years, and mistakes are hard to fix once cured.
Best Practices to Prevent Brush Strokes Long Term
Good habits beat product choices every time. Keep your studio at a steady temperature, store mediums upright, and stir gently before each use. Settled medium that has not been mixed will dry unevenly.
Always test new products on a sample board first. Paint a few practice canvases with the same paint you used on your real piece. This tells you how the medium will behave without risking the finished work.
Clean every tool right after use. Dried medium on a brush ruins the bristles forever. Warm water and a drop of soap work for most acrylic pouring products. Foam rollers are usually too far gone after one job.
Pros of forming habits: fewer ruined paintings, lower long term cost, better control over results. Cons: requires discipline and an organized workspace, which takes time to set up.
Frequently Asked Questions
How long should I wait before applying a high gloss top coat to my acrylic pour?
Wait at least seven to ten days after the pour is dry to the touch. The paint film keeps curing under the surface even when it feels solid. Adding a top coat too soon can trap moisture and cause cloudiness or cracking.
Can I mix water into my pouring medium to reduce brush strokes?
A small amount of water can help, usually no more than 10 percent by volume. Too much water breaks down the binder and leaves a weak film. A flow improver or leveling additive is a safer choice for thinning.
Why does my high gloss medium look cloudy after it dries?
Cloudiness comes from trapped moisture, applying medium over still wet paint, or using too thick a coat. It can also happen in cold or humid conditions. Most cases clear up after a few more days of drying.
Is it okay to use household varnish on an acrylic pour?
Household polyurethane and floor varnish can yellow over time and damage the paint film. Stick to art grade gloss medium or varnish made for acrylics. They stay clear and stay flexible with the paint.
What is the easiest method for a beginner to avoid brush strokes?
A high density foam roller is the most beginner friendly tool. It lays down an even coat without the practice needed for a flood coat. Pair it with a true self leveling gloss medium for the best results.
Can I use a hair dryer instead of a heat gun to pop bubbles?
A hair dryer is too weak to pop most bubbles in pouring medium. It also blows dust onto the wet surface. A small kitchen torch or proper heat gun gives better results without the dust risk.

Hi, I’m Zoe Ward, the creator and voice behind Fine Brush Vault. I’m passionate about art, painting, and exploring the world of colors. I spend my time testing and reviewing art supplies to help fellow creators find the best tools for their craft. Through honest reviews and detailed guides, my goal is to make your creative journey easier and more inspiring.