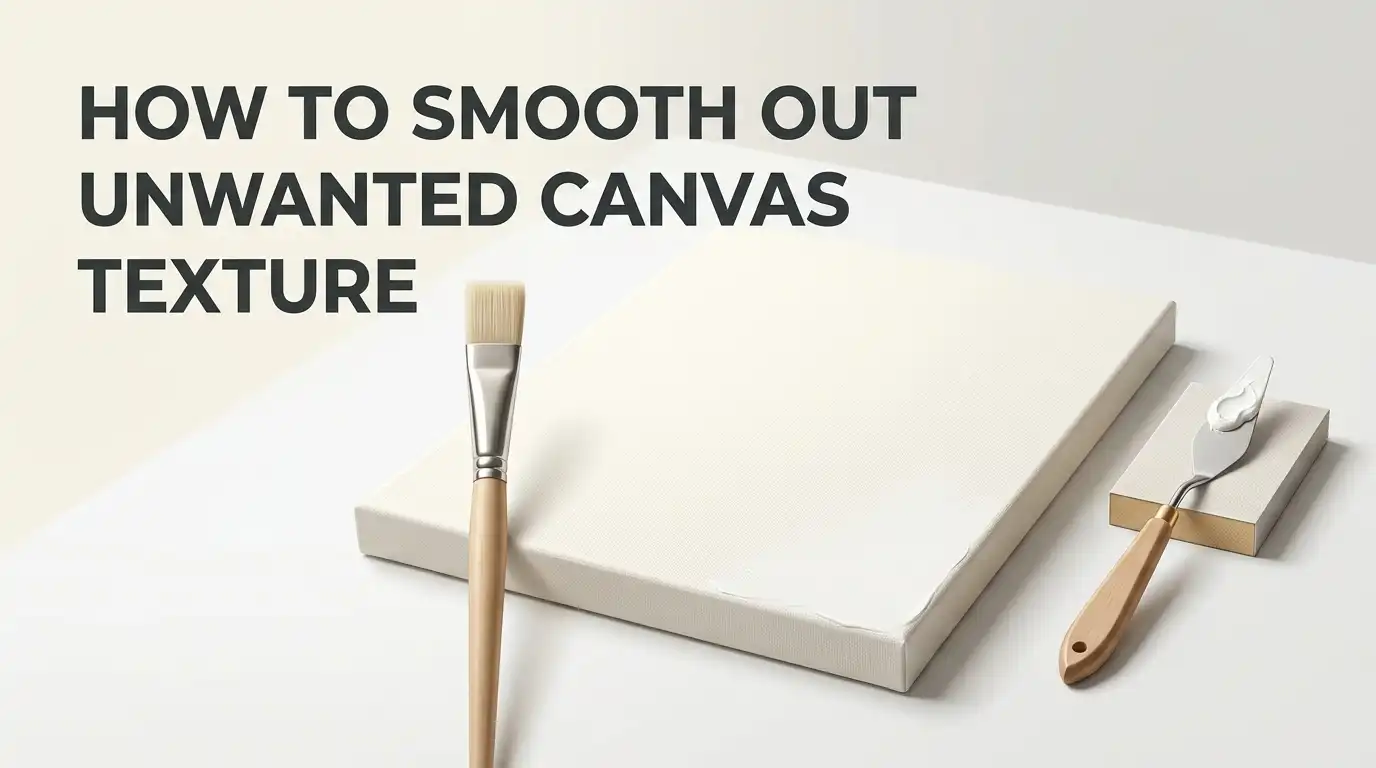
How to Smooth Out Unwanted Canvas Texture?
A rough canvas can fight every careful brushstroke in a portrait. The weave catches paint, breaks soft blends, and makes skin look uneven even when your color work is strong.
That is why many portrait artists spend time on surface prep before they touch the first skin tone. A smoother surface gives you more control over edges, better blending, and cleaner detail around the eyes, lips, and nose.
The good news is simple. You do not need to throw away every textured canvas. You can smooth many surfaces with a clear plan, the right number of gesso coats, and patient sanding.
In a Nutshell
- Start by checking the weave. If the canvas has a strong texture, you may need more than one extra coat of gesso. If the weave is very deep, switching to a finer canvas or panel may save time.
- Use several thin coats instead of one thick coat. Thin coats dry more evenly and are less likely to crack. Slow build up usually gives the best result.
- Sand lightly between coats. This step helps flatten brush marks and fills low spots. Many artists get good results with fine sandpaper in the 200 to 400 range.
- Wet sanding can help. It creates less dust and often gives a softer finish. It also helps stop acrylic grounds from feeling rubbery while sanding.
- Panels are often better for very detailed portraits. They do not bounce like stretched canvas. That makes line control easier.
- Match the method to your paint. Acrylic and oil can both work on a smooth surface, but the prep steps can differ. Test the final feel before you begin the face.
Why Canvas Texture Makes Portraits Harder
Portrait painting asks for soft shifts, clean edges, and control in tiny areas. The canvas weave can interrupt all three. When your brush moves over raised threads, paint lands unevenly. That can make skin look broken or rough, even if your color mix is right. This is a surface problem, not always a skill problem.
A coarse texture also affects glazing. Thin layers settle into low spots and skip over high spots. The result can look spotty, especially in cheeks, forehead, and neck passages. Fine facial detail suffers first.
There is one more issue. Stretched canvas has some give under the brush. That bounce can make it harder to draw a sharp eyelash line or a clean nostril edge. For loose painting, that may feel fine. For tight portrait work, it can be annoying.
The fix is simple in theory. Reduce the weave, strengthen the support, or do both.
Choose the Best Surface Before You Start
The easiest way to solve texture problems is to begin with a better surface. Fine weave linen usually has a smoother texture than cotton. Many artists choose it for portrait work because it hides the grid of the weave better. If you want smaller skin detail, a finer weave gives you a head start.
Cotton canvas still has value. It costs less, stretches easily, and works well for practice. The tradeoff is texture. Some cotton canvases show a more obvious weave, so they need more prep before portrait work. That extra prep takes time.
Panels are another strong option. A smooth panel can feel closer to paper or board than canvas. It gives better brush control and no bounce under the hand.
Pros of fine weave linen: smoother feel, better for detail, stronger over time.
Cons: higher cost, harder to stretch and prepare.
Pros of cotton: lower cost, easy to find, good for study work.
Cons: more visible weave, often needs more smoothing.
Decide Whether to Smooth the Canvas or Change the Support
Not every canvas is worth rescuing. If the weave is shallow, a few coats of gesso and light sanding may solve the problem fast. If the weave is deep, you may spend hours filling holes and still feel the grid under your brush. In that case, changing the support can be the smarter move. Saving time is also part of good technique.
Look closely under side light. If you can still see strong valleys after one extra coat of gesso, ask yourself a simple question. Will two or three more coats fix this, or am I forcing the wrong surface into the wrong job?
Detailed portraits need control more than tradition. If you love the look of canvas but hate the texture, try canvas mounted on panel or a very fine linen. If you care more about smooth detail than canvas feel, go straight to a prepared panel.
That choice can remove half the struggle before painting even begins.
Set Up the Right Tools and Work Area
Good prep feels easier when your tools are ready. You do not need a huge kit. A wide flat brush or foam roller, gesso, fine sandpaper, a soft cloth, water, and clean light are enough for most surfaces. Simple tools can give a very clean result.
A foam roller can help reduce streaks in the first coats. A wide flat brush works too, especially if you apply the gesso in one direction and keep the layer thin. For sanding, many artists use fine paper in the 200 to 400 range. Start gentle. You can always sand again, but you cannot undo deep scratches.
Keep dust under control. Sanding creates fine particles that should not sit on the surface or in the air. Wipe the canvas with a damp soft cloth after each sanding pass.
A clean table matters too. Any grit under the canvas can print into the wet ground and create new texture.
Apply the First Coat of Gesso the Right Way
The first coat matters because it grabs the weave and starts the filling process. Many artists thin the first coat a little so it spreads more easily and reaches into the surface. The goal is coverage, not thickness. One even coat works better than one heavy coat.
Brush or roll the gesso in one direction. Then let it dry fully before you judge the surface. If you rush here, later coats can trap uneven spots or pull up soft areas. Dry time feels slow, but it protects the finish.
If you are working on a ready made canvas, remember that it may already have several factory coats. You are not starting from zero. You are just improving the final feel for portrait work.
Pros of a thin first coat: better control, fewer ridges, lower crack risk.
Cons: it may look like it is doing very little at first.
That is normal. The first coat starts the job. The next coats do the real smoothing.
Add More Coats to Fill the Weave
Most portrait painters who want a smoother surface add more than one coat. Three coats is a common average for general prep, but some artists go farther when they want the weave to nearly disappear. The key is simple. Build slowly. Several thin coats fill texture better than one heavy layer.
Alternate the direction of each coat. If one coat goes vertically, let the next go horizontally. This helps level the surface and reduces repeated brush patterns. Small changes in direction can make a big difference.
Let each layer dry before the next one. If the surface still feels open after two or three coats, add another. The right number depends on the starting texture and your painting style. A loose portrait may need less. A tight realistic face may need more.
Do not chase perfection too early. Let the coats build, then judge after sanding. That gives a more honest view of the final surface.
Sand Between Coats for a Better Surface
Sanding is where the rough look starts to disappear. After each dry coat, sand lightly to flatten brush marks and knock down the high points. You are shaping the ground, not attacking it. A gentle hand gives the best finish.
Use fine sandpaper and small, even motions. Circular or back and forth strokes both work if the pressure stays light. Focus on rough ridges, not just the middle of the canvas. Edges often hold more buildup and need the same care.
After sanding, remove the dust with a damp soft cloth. If dust stays on the surface, the next coat can trap it and create fresh bumps. That can undo the work you just did.
Pros of dry sanding: fast, easy to control, good for leveling brush marks.
Cons: more dust, easier to over sand, can leave scratch marks if the grit is too rough.
Good sanding feels quiet and steady, never aggressive.
Use Wet Sanding for a Softer and Cleaner Finish
Wet sanding is a favorite method for artists who want a finer result. A little water lubricates the surface, cuts dust, and can help acrylic grounds sand more smoothly. It often leaves a softer finish than dry sanding.
To do it, lightly dampen the surface or the sanding tool. Do not soak the canvas. Then sand with light pressure. You may notice a thin slurry form. That is normal. Wipe it away gently and let the surface dry before adding the next coat. The process feels cleaner and calmer than dry sanding.
Wet sanding also helps reduce airborne dust, which makes the workspace easier to manage. That is helpful if you prep often or work in a smaller studio.
Pros of wet sanding: less dust, smoother feel, less heat buildup on acrylic grounds.
Cons: slower drying after sanding, more cleanup, easy to overwork if the surface is too wet.
If you want a very soft portrait surface, this method is worth trying.
Try a Rigid Panel for Tiny Facial Detail
If you paint tiny lashes, pores, and sharp lip edges, a rigid panel can feel like a relief. There is no fabric bounce, no sagging, and no stretcher bar shadow underneath. Your brush stays in better contact with the surface.
Panels also help color sit more evenly because the support does not flex under pressure. Many artists feel that they get cleaner line control and steadier handling on a rigid surface. That can matter a lot in eyes and mouth work.
You can still keep the look of canvas if you like. Some artists mount canvas on panel and then prepare it. That reduces bounce while preserving some familiar feel.
Pros of panels: stable surface, better line control, no sag, great for detail.
Cons: can feel less traditional, often heavier, some products need careful priming.
For very detailed portraits, a panel is often the shortest path to a smoother painting experience.
Compare the Main Smoothing Methods
There is no single best method for every artist. The best choice depends on how much texture you have, how much detail you want, and how much prep time you can accept. Think in terms of result, time, and feel.
Extra coats of regular gesso are the most common fix. They are simple, flexible, and easy to adjust. This is the best starting point for most people. The downside is time. Very rough canvas may need many rounds.
Wet sanding improves smoothness and cuts dust. It is great for artists who want a softer finish. The tradeoff is a slower process.
Sandable hard gesso can create a very smooth surface, but it is usually meant for rigid supports, not flexible canvas. That makes it strong for panels and a poor choice for loose stretched fabric.
Modeling paste can help fill texture fast, but it must be used with care. Too much can feel heavy and unnatural under paint.
Avoid the Most Common Prep Mistakes
Most smoothing problems come from rushing. Thick coats dry unevenly, trap ridges, and may crack later. Heavy sanding can cut through the ground and expose the weave again. Fast prep often creates more work.
Another mistake is ignoring the final paint method. If you want smooth glazes, leave enough tooth for adhesion but not so much texture that it breaks the layer. A surface that is polished too far can reduce grip. Smooth does not need to mean glossy.
Some artists also forget to clean after sanding. Dust left behind turns into grit under the next coat. That can make the final layer feel rough even after good sanding.
Finally, do not force the wrong product onto the wrong support. A hard sandable ground may work well on panel but can crack on flexible material. Match the ground to the support and the support to the portrait style.
Test the Surface Before Painting the Portrait
Before you begin the face, test the surface. This step saves guesswork. Hold the canvas under side light and look for weave shadows, brush ridges, and sanding scratches. Then drag a soft brush across it with a little paint or even clean water. Your hand will tell you what your eyes may miss.
If the brush skips, the surface still has too much texture for very delicate blending. If the paint slides with no grip at all, the surface may be too slick. You want a middle point. Smooth enough for control, but not so polished that paint feels unstable.
Make a small test patch in the corner or on a spare piece. Try a thin glaze, a soft blend, and one sharp line. This quick trial shows whether the prep supports the portrait style you want.
A good portrait starts long before skin color. It starts with the surface under the paint.
FAQs
Can I smooth a cheap pre made canvas enough for a detailed portrait?
Yes, often you can. Add a few thin coats of gesso and sand lightly between them. If the weave is very deep, a panel may still be the better choice.
How many coats of gesso do I usually need?
Many artists do well with about three coats, but very smooth portrait work may need more. The right number depends on the original texture and your preferred finish.
Is wet sanding better than dry sanding?
Wet sanding usually creates less dust and can leave a softer finish. Dry sanding is faster, so both methods can work.
Should I choose cotton, linen, or panel for portraits?
For the smoothest feel, fine linen or a rigid panel is often the easiest option. Cotton is useful too, but it may need more prep.

Hi, I’m Zoe Ward, the creator and voice behind Fine Brush Vault. I’m passionate about art, painting, and exploring the world of colors. I spend my time testing and reviewing art supplies to help fellow creators find the best tools for their craft. Through honest reviews and detailed guides, my goal is to make your creative journey easier and more inspiring.