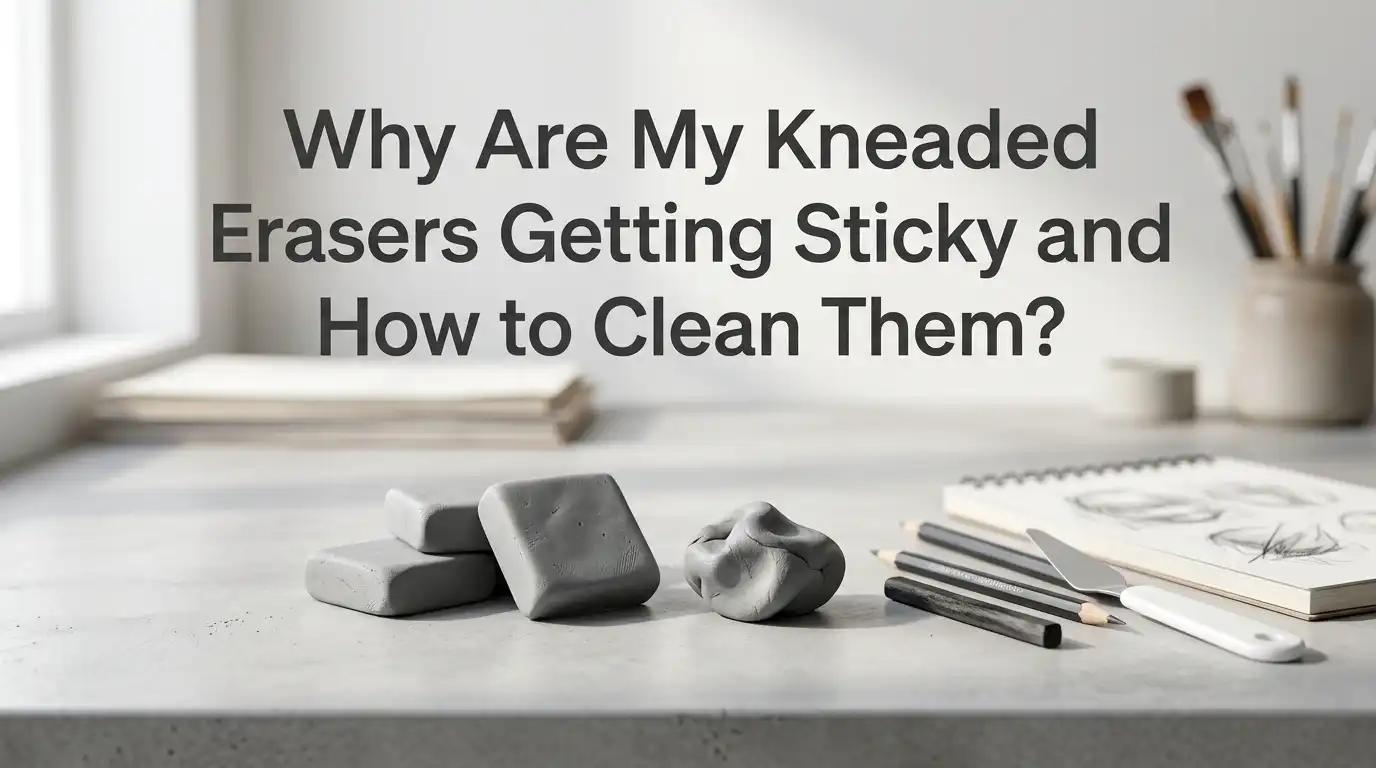
Why Are My Kneaded Erasers Getting Sticky and How to Clean Them?
If your kneaded eraser feels gummy, leaves smears, or sticks to your fingers, you are not doing anything unusual. This happens to many artists and students.
A kneaded eraser is soft by nature, so it reacts fast to heat, dust, skin oils, graphite, charcoal, and rough storage. The good news is simple. In many cases, you can fix the problem with a few easy habits and a gentle cleaning method.
This guide will show you why your kneaded eraser gets sticky, how to clean it safely, and how to stop the problem from coming back. You will also learn when cleaning still makes sense and when it is smarter to replace the eraser.
Key Takeaways
- Sticky kneaded erasers usually collect three things. They collect pigment, hand oil, and dirt. Graphite and charcoal build up inside the eraser. Skin oil and lotion make the surface feel greasy. Dust and pencil case debris make the outside dirty and tacky.
- The first fix is often kneading and stretching. This simple step spreads trapped pigment through the eraser and exposes a cleaner area. It is fast, free, and safe. Still, it only helps when the eraser is mildly dirty. It does not solve deep grease or heavy grime.
- A gentle soap and water wash can help in some cases. Use a tiny amount of mild soap, lukewarm water, and slow pressure. Do not soak it for a long time. Do not scrub hard. A soft clean matters more than a strong clean. Too much force can ruin the texture.
- Storage habits matter more than most people think. A kneaded eraser left loose in a warm pencil case will pick up lint, graphite dust, and oils from other tools. A small case or sealed bag keeps it much cleaner and makes it last longer.
- Some sticky erasers are simply worn out. If the eraser stays dark, leaves marks, smells odd, or feels slick even after cleaning, it may be done. At that point, replacing it saves time and protects your artwork.
- Prevention is easier than repair. Wash your hands before drawing. Keep your desk clean. Use the eraser with a press and lift motion for light marks. Store it well after every session. These small steps make a big difference over time.
What Makes a Kneaded Eraser Turn Sticky
A kneaded eraser gets sticky because it is made to stay soft and flexible. That softness helps it lift graphite, charcoal, and pastel without scraping the paper. The same softness also makes it collect dirt fast. It acts like a magnet for fine particles. That is useful on paper but risky on a messy desk.
Each time you use it, the eraser traps pigment inside its surface. Each time you knead it, your fingers add a little oil. If you draw for long sessions, that mix gets heavier. Dust, crumbs, lint, and pencil shavings can then stick to the outside.
The result is a tacky feel that makes the eraser harder to control. It may start leaving gray residue instead of lifting it. Once that happens, your eraser stops feeling like a clean drawing tool and starts feeling like a soft ball of grime.
How Heat and Storage Can Make the Problem Worse
Heat can make a kneaded eraser feel softer and more gummy very fast. A warm room, a sunny desk, or a hot backpack can change the texture in a short time. The eraser may not melt, but it can become too soft to handle well. That extra softness makes dirt stick faster. A warm eraser also grabs lint more easily.
Storage matters just as much as temperature. If you toss the eraser into a pencil case without a wrapper or small box, it will pick up loose graphite, dust, and fibers. It can also leave gray residue on your other tools.
Pros of cool, closed storage: cleaner surface, better shape, less dust, longer use.
Cons of careless storage: fast grime build up, more stickiness, harder cleaning, more waste.
A small container or plastic sleeve solves a big part of this problem with almost no effort.
How Graphite, Charcoal, and Pastel Build Up Inside the Eraser
Kneaded erasers work by lifting media from the paper and holding it inside the rubber. That is why they are so useful for soft highlights and gentle correction. Over time, though, that trapped material builds up. The more dark media it absorbs, the dirtier it feels. A charcoal heavy eraser can get overloaded fast.
Graphite is fine and smooth, so it spreads through the eraser. Charcoal is darker and looser, so it can make the eraser look dirty much sooner. Pastel can also add powder and color that change the feel of the surface.
This does not mean the eraser is bad right away. Mild buildup is normal. Still, once the eraser stays dark and sticky after kneading, its lifting power drops. It may start pressing old pigment back onto the page. That is when cleaning or replacing becomes the better move.
How Hand Oils, Lotion, and Dirty Surfaces Add Grease
Your hands play a big role in this problem. Even clean hands have natural oils. Add lotion, sunscreen, sweat, or snack residue, and the eraser picks it up quickly. Since you knead the eraser with your fingers, the grease moves right into the material. This is one of the main reasons a kneaded eraser feels slick. The more you play with it, the worse it can get.
Dirty work surfaces add another layer. A dusty table or a pencil case full of debris turns the eraser into a collector. It picks up fibers, hair, crumbs, and dark powder from other tools.
Pros of clean hands and a clean desk: less grease, less grime, better control.
Cons of using lotion coated hands or a dirty surface: sticky texture, smears on paper, shorter eraser life.
A quick hand wash before drawing is one of the easiest fixes in this whole guide.
Signs Your Kneaded Eraser Needs Help
A sticky kneaded eraser gives clear warning signs. The first sign is feel. It starts to cling to your fingers or the wrapper. The second sign is performance. It stops lifting cleanly and starts smudging instead. If the eraser leaves marks while trying to erase marks, that is your signal. It should lift tone, not add dirt back to the page.
You may also notice that it looks dark all over, not just on one side. Another sign is poor shape control. If you cannot pull it into a point or a flat edge, it may be too soft or too greasy.
Watch for these red flags:
sticky surface
gray residue on fingers
smears on paper
bad smell
lint stuck all over it
If you notice one or two of these signs, try a light fix first. If you notice all of them at once, the eraser may be near the end of its useful life.
Method One: Knead and Stretch It to Refresh the Surface
The first cleaning method is the simplest one. Stretch the eraser slowly, fold it over, and knead it several times. This spreads the trapped pigment through the material and exposes a cleaner area. Many mildly dirty erasers improve a lot with this step alone. It is the fastest rescue method. It also costs nothing and needs no tools.
Use slow pressure. Do not yank it apart too hard. Pull it like soft taffy, then fold and press. Repeat until the surface looks lighter and feels less tacky. If one part still looks dirty, keep folding that part inward.
Pros: quick, free, safe, no drying time.
Cons: limited effect on greasy erasers, does not remove dust fully, may spread deep grime if overused.
This method works best for normal drawing buildup. It is the right first step before you try soap or decide to replace the eraser.
Method Two: Wash It Gently With Mild Soap and Lukewarm Water
If kneading does not solve the problem, try a gentle wash. Use a small drop of mild hand soap or dish soap and a little lukewarm water. Wet your fingers, not the eraser under running water for a long time. Then work the soap into the eraser slowly. Use a light touch. The goal is to loosen grease, not crush the material.
Knead it for a short time, then blot it with a clean cloth or paper towel. Repeat with fresh water if needed. Stop once the surface feels cleaner. Do not soak it for a long session. Too much water can make the texture weak and awkward.
Pros: helps remove grease, improves sticky feel, useful after lotion or heavy hand oil.
Cons: can over soften the eraser, needs drying time, may not fully restore an old eraser.
This method is best as an occasional fix, not a daily routine.
How to Dry and Reshape It After Cleaning
After washing, drying matters as much as cleaning. Pat the eraser with a soft cloth or paper towel. Then let it rest in a cool, clean place. Keep it away from sunlight, heaters, and dusty shelves. Slow drying works best. Rushing the process can make the outside strange while the inside stays damp.
Once the eraser starts to feel firmer, knead it lightly to check the texture. If it feels too wet, blot it again and give it more time. After that, shape it into a neat lump and store it in a clean case or sleeve.
Do not use the eraser on good paper while it still feels wet or extra soft. It may leave a slick trace or pull at the paper surface. A fully dry eraser should feel soft and flexible, but not slimy. That balance tells you it is ready to use again.
What You Should Never Do When Cleaning a Sticky Eraser
Some cleaning ideas sound smart but create bigger problems. Do not use hot water. Heat can make the eraser too soft and gummy. Do not scrub it with rough cloth, sandpaper, or a brush. That can tear the surface and ruin the smooth feel. A kneaded eraser needs gentle care. Harsh cleaning does more harm than good.
Do not use strong cleaners, alcohol, bleach, or solvent. These can damage the rubber and leave residue you do not want near your drawing paper. Do not leave it soaking in water for a long time either. Long soaking can change the texture too much.
Bad cleaning habits lead to three common results: lost shape, poor lifting power, and more mess on the page.
If you are ever unsure, go back to the safest order. First knead. Then try a mild wash. Then dry slowly. That simple order protects the eraser.
The Best Storage Habits to Prevent Stickiness
Prevention starts after every drawing session. Put the eraser in a small plastic box, a sealed bag, or its original case if it came with one. Keep it out of direct sun and away from heat. Store it where dust cannot settle on it. A clean eraser is easier to keep clean than to deep clean later. Good storage saves a lot of trouble.
Keep it separate from loose graphite sticks, charcoal crumbs, and dirty blending tools. If you carry it in a pencil case, place it in its own small wrapper or pouch. That stops it from touching lint and sharp debris.
Pros of a sealed case: better hygiene, less dust, easier travel, longer life.
Cons: easy to forget if you do not build the habit, small cases can get lost.
Make storage part of your routine. Use it, knead it lightly, close it up, and put it away.
When It Is Better to Replace the Eraser
Some kneaded erasers can be refreshed. Some are simply done. If the eraser stays dark, greasy, and sticky after kneading and gentle washing, it may be overloaded with pigment and oil. At that stage, cleaning becomes a time drain. A worn out eraser can hurt your drawing more than it helps. Replacing it is often the smarter choice.
Other signs also point to replacement. It may smell odd, feel crumbly in places, or refuse to hold a point. It may leave streaks no matter how carefully you use it. If that happens, let it go.
Pros of replacing it: clean performance, no smear risk, better control, less frustration.
Cons: small added cost, waste if done too early.
A good rule is simple. If the eraser no longer lifts cleanly and keeps adding mess, replace it before it touches an important drawing again.
How to Use a Kneaded Eraser Without Making It Sticky So Fast
The way you use the eraser affects how long it stays clean. Try a press and lift motion for light marks instead of rubbing hard. This helps the eraser pick up media without grinding it deep into the surface. Gentle use keeps the eraser cleaner and your paper safer. Soft control beats hard pressure almost every time.
Wash and dry your hands before drawing. Skip hand lotion until you finish. Keep snacks away from the desk. Set the eraser on clean paper or in its case when you pause. Do not keep kneading it just to fidget. Extra handling adds extra oil.
For full erasing, use a firmer eraser after the kneaded eraser lifts the top layer. That keeps the kneaded eraser in the role it does best, which is subtle lifting and highlight work. Used this way, it stays useful much longer.
FAQs
Can I clean a kneaded eraser with soap every week?
You can, but you probably should not. Mild soap is helpful for a greasy eraser, but frequent washing can change the texture. Use soap only when simple kneading no longer works.
Why does my kneaded eraser smear instead of erase?
It usually holds too much graphite, charcoal, or grease. Try stretching and kneading it first. If it still smears, give it a gentle wash or replace it.
Can I put a sticky kneaded eraser in the fridge?
A cooler space may firm it up for a short time, but cold does not remove dirt or oil. It is a temporary feel change, not a real cleaning method.
Is a dark kneaded eraser always bad?
No. A darker color alone is normal after use. It becomes a problem when it also feels sticky, leaves marks, or stops lifting cleanly.

Hi, I’m Zoe Ward, the creator and voice behind Fine Brush Vault. I’m passionate about art, painting, and exploring the world of colors. I spend my time testing and reviewing art supplies to help fellow creators find the best tools for their craft. Through honest reviews and detailed guides, my goal is to make your creative journey easier and more inspiring.