Why Do My Paint Brush Bristles Keep Shedding on My Canvas?
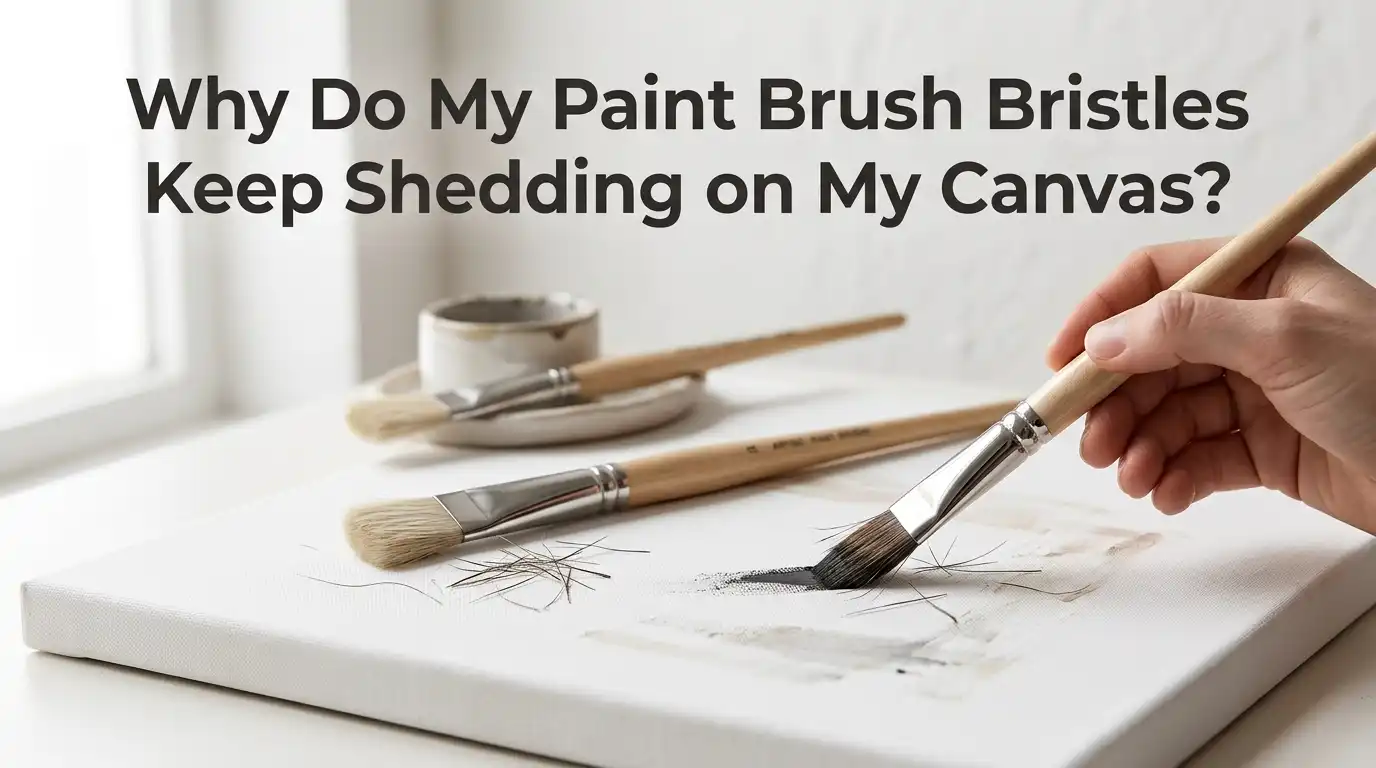
Few things ruin a smooth painting session faster than spotting a stray bristle stuck in your fresh layer of paint. You pick it off, only to find another one. And another. Soon your beautiful canvas looks more like a fuzzy carpet than a piece of art.
If this scenario sounds painfully familiar, you are not alone. Brush shedding is one of the most common frustrations artists face, from total beginners to seasoned professionals. The good news?
Most causes are fixable, and most shedding can be prevented with simple habits. This guide breaks down every reason your bristles are falling out and gives you clear steps to stop it for good.
Key Takeaways
- Brush quality matters most. Cheap brushes often shed because the bristles are glued poorly inside the ferrule. Investing in mid-range or better brushes pays off in the long run.
- How you clean your brushes affects shedding a lot. Hot water, harsh solvents, and rough scrubbing all loosen the glue that holds the bristles in place. Always use lukewarm water and gentle soap.
- Storage and drying habits cause hidden damage. Leaving brushes soaking on their bristles bends them and weakens the glue bond. Always lay brushes flat or hang them bristle down to dry.
- Break in new brushes before painting. A quick wash, gentle comb through, and removal of loose hairs before the first use stops surprise shedding mid stroke.
- Match the brush type to the medium. Natural hair brushes love oils and watercolors, while synthetic brushes work better with acrylics and heavy body paints. Wrong pairing speeds up bristle loss.
- Damaged brushes can sometimes be saved. A warm soak, brush soap, and reshaping the bristles can rescue many brushes that look ruined.
What Causes Paint Brush Bristles to Shed in the First Place
Brush bristles shed for a few specific reasons, and once you know them, the fix becomes obvious. The bristles sit inside a metal piece called the ferrule, and they are held there by glue.
When that glue weakens, breaks, or was never strong to begin with, hairs start to slip out. Heat, harsh chemicals, dried paint, and physical stress all damage that glue bond.
Another big factor is brush quality. Cheap brushes often use less glue and rougher bristles that were not bundled tightly. Some shedding is normal in the first few uses of any brush.
But constant shedding usually points to a deeper issue with the brush, the cleaning method, or the way the brush is being used during painting.
Cheap or Low Quality Brushes Are the Number One Culprit
If your brushes shed every single time you paint, the brushes themselves are likely the problem. Budget brushes are often mass produced with weak adhesive inside the ferrule.
The bristles are stuffed in quickly without proper bundling, so they slip out the moment you apply pressure. You will see this most often in dollar store packs or large beginner sets.
Mid range and professional brushes hold their bristles far better because they use stronger glue and tighter bundling techniques.
Pros of upgrading your brushes: Less shedding, smoother strokes, better paint pickup, and a longer brush lifespan.
Cons of upgrading: Higher upfront cost, and you still need to care for them properly or they will degrade over time.
Hot Water Is Quietly Destroying Your Brushes
This one surprises many artists. Hot water softens and dissolves the glue that holds bristles inside the ferrule. Every time you rinse a brush under hot tap water, you weaken the bond a little more. After enough washes, hairs start sliding out with every stroke.
Always rinse your brushes in cool or lukewarm water instead. Cool water cleans paint just as well, especially if you use brush soap to lift the pigment.
If you paint with acrylics, never let dried paint set on the brush, because then you might feel tempted to use hot water to break it up. Quick cleaning right after use removes that temptation entirely.
Pros of cool water washing: Protects the glue, extends brush life, and works well with soaps.
Cons: Slightly slower at breaking down stubborn dried paint compared to hot water.
Harsh Solvents Break Down the Glue Bond
Oil painters often rely on solvents like turpentine or mineral spirits to clean their brushes. While these solvents dissolve oil paint quickly, they can also dissolve or soften the adhesive inside the ferrule over time. The longer the bristles sit soaking in solvent, the more damage builds up.
Never leave your brush sitting in solvent for hours or overnight. Swish the brush briefly, wipe it on a rag, and then do a proper wash with brush soap and lukewarm water. This two step cleaning removes paint without overexposing the glue.
Pros of limited solvent use: Faster paint removal and cleaner bristles.
Cons: Solvent exposure still shortens brush lifespan, releases fumes, and requires careful disposal.
Leaving Brushes Soaking on Their Tips
This is one of the most common mistakes painters make. You dip a brush in your rinse cup, get distracted, and leave it there for an hour.
The bristles bend, the ferrule fills with water, and the glue inside swells and weakens. When the brush dries, those bristles never sit straight again, and shedding follows soon after.
Always lay your brushes flat on the table or use a brush holder that suspends them in water without touching the bottom. A simple clothespin clipped to the rim of your cup works as a brush rest. Some artists use a folded paper towel to keep the bristles slightly elevated.
This single habit alone can double the life of your brushes and dramatically cut down shedding.
Letting Paint Dry Inside the Ferrule
When paint dries up inside the ferrule, it acts like a wedge that pushes bristles apart and weakens their grip on the glue. Acrylic paint is especially dangerous because it dries to a hard plastic that traps hair and rips it loose during the next wash.
Clean your brushes right after each painting session, and pay extra attention to the base of the bristles near the ferrule. Use brush soap and gently work it into the bristles with your fingers. Rinse, repeat if needed, and reshape the tip before drying.
Pros of immediate cleaning: Stops paint buildup, keeps bristles flexible, and prevents shedding.
Cons: Requires discipline at the end of every session, even when you are tired.
Using Too Much Pressure While Painting
Many artists, especially beginners, press their brushes too hard against the canvas. This bends the bristles, splays them out, and forces paint up into the ferrule. Over time, the constant strain breaks the glue bond and loose hairs start falling out.
Use a lighter touch and let the paint do the work. If you need more coverage, load more paint onto the brush instead of pressing harder. For thick textured strokes, switch to a stiffer brush built for impasto work rather than overworking a soft brush.
A good rule is to hold the brush near the middle of the handle, not gripped tight at the ferrule. This naturally lightens your touch and reduces stress on the bristles.
Skipping the Break In Process for New Brushes
New brushes almost always come with a few loose hairs from manufacturing. If you skip washing the brush before its first use, those loose hairs end up in your painting. This is normal and does not mean the brush is defective.
Always break in a new brush before painting with it. Rinse it under cool water, gently massage the bristles with your fingers or a drop of mild soap, and let the loose hairs rinse away. Then comb through the bristles with your fingertips or a fine comb to catch any remaining strays. Pat dry with a soft cloth and reshape the tip.
This five minute habit prevents most first time shedding surprises.
Choosing the Wrong Brush for Your Medium
Brush type and paint type need to match. Natural hair brushes like sable or hog bristle are made for oils and watercolors. Synthetic brushes made of nylon or polyester handle acrylics and heavy body paints much better. Using a delicate sable brush with thick acrylic paint and metallic flakes will shred the bristles fast.
Pros of matching brush to medium: Better paint flow, longer brush life, and less shedding.
Cons: You may need to buy multiple brush sets if you work across different mediums.
If you are unsure, check the label. Most brushes today list the paint types they were designed for. When in doubt, synthetic brushes are a safe all rounder for beginners.
How to Clean Your Brushes the Right Way
Proper cleaning is the single biggest factor in preventing shedding. Here is the safe routine that protects your brushes every time you finish painting.
First, wipe excess paint on a paper towel or rag. Second, rinse the brush in lukewarm water while gently squeezing the bristles from the ferrule outward. Third, work a small amount of mild brush soap or dish soap into the bristles. Fourth, rinse until the water runs clear.
Finally, reshape the bristles with your fingers and lay the brush flat or hang it bristle down to dry. Never stand a wet brush upright in a jar, because water will run into the ferrule and loosen the glue from the inside.
Smart Storage Habits That Prevent Shedding
How you store your brushes between sessions matters more than you might think. Cramming brushes into a tight container bends the bristles and splays the tips. Once a brush loses its shape, paint sticks unevenly, pressure increases during use, and shedding gets worse.
Store brushes flat in a drawer, in a brush roll, or upright with the bristles pointing up. Make sure they are completely dry before storing them, because trapped moisture rots the glue and grows mildew. Keep them out of direct sunlight and away from heat sources like radiators.
Pros of good storage: Keeps shape, prevents shedding, extends life.
Cons: Takes more space than tossing them in a jar.
Can You Fix a Brush That Is Already Shedding
Sometimes yes, sometimes no. If the glue bond is fully broken, the brush is usually done. But if shedding is mild and recent, you can often rescue the brush with a careful deep clean.
Soak the bristles in a small dish of lukewarm water with a drop of brush soap or hair conditioner for about ten minutes. Gently massage the bristles, rinse, and reshape the tip. Let the brush dry flat for at least twenty four hours. Comb out any final loose hairs with a soft toothbrush.
This works best on natural hair brushes. For badly damaged brushes, retire them to rough work like priming canvases or texture effects instead of detail painting.
Signs It Is Time to Replace a Brush
Even with perfect care, every brush eventually wears out. Watch for these warning signs that a brush is past saving. The ferrule feels loose or wiggles. The bristles fan out and will not return to their original shape. Hairs fall out constantly no matter how gently you wash. Paint pickup feels uneven or splotchy.
When two or more of these signs show up, stop using that brush for important work. You can keep retired brushes for messy tasks like applying gesso, mixing paint, or creating rough textures. Replacing worn brushes early actually saves money, because you stop ruining paintings with shed bristles and rough strokes.
FAQs
Why do brand new brushes shed on the first use?
New brushes contain loose hairs from the manufacturing process that were never glued in firmly. A quick wash and gentle finger comb before first use removes them. If shedding continues past the first two sessions, the brush is likely low quality and needs replacing.
Does hot water really damage paint brushes?
Yes. Hot water softens the adhesive inside the ferrule that holds bristles in place. Repeated hot water washes weaken that glue until hairs slip out easily. Always use cool or lukewarm water for rinsing and cleaning your brushes.
Can I use hair conditioner on my paint brushes?
Yes, for natural hair brushes especially. A small amount of conditioner softens the bristles, helps them keep their shape, and reduces breakage. Rinse the conditioner out completely before using the brush again with paint.
How often should I deep clean my brushes?
A quick wash after every session is enough for most painters. Plan a deeper clean with brush soap every five to ten sessions depending on how heavy you use them. Deep cleans remove paint trapped near the ferrule before it causes shedding.
Are expensive brushes really worth it?
For most artists, yes. Higher quality brushes shed less, hold their shape longer, and apply paint more evenly. You do not need top tier professional brushes to start, but moving up from the cheapest options usually solves shedding problems immediately.
What is the best way to dry brushes after washing?
Lay them flat on a paper towel or hang them bristle down using a brush holder. Never stand them upright in a jar while wet, because water drains into the ferrule and weakens the glue. Let them dry fully before storing them away.
Can shedding bristles ruin a painting permanently?
Not usually. Catch the bristle while the paint is still wet and lift it off with the tip of a clean brush or tweezers. If the paint has dried, you can often paint over the hair or sand it down gently before adding a new layer.

Hi, I’m Zoe Ward, the creator and voice behind Fine Brush Vault. I’m passionate about art, painting, and exploring the world of colors. I spend my time testing and reviewing art supplies to help fellow creators find the best tools for their craft. Through honest reviews and detailed guides, my goal is to make your creative journey easier and more inspiring.