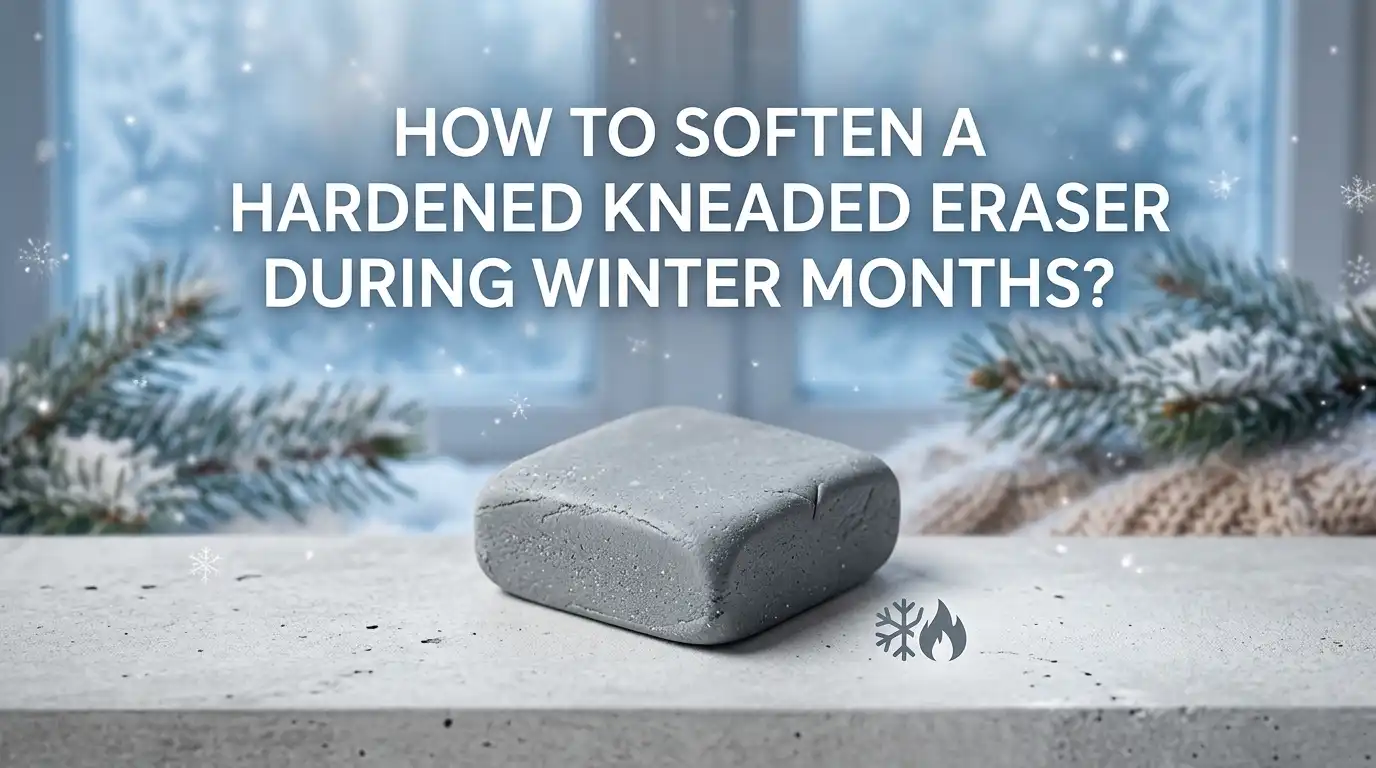
How to Soften a Hardened Kneaded Eraser During Winter Months?
Winter can turn your favorite art tool into a stiff, stubborn lump. A kneaded eraser that once stretched like taffy now feels like a pebble in your palm.
You press it, you pull it, but it refuses to budge. If you sketch with graphite, charcoal, or pastels, this problem can stop your creative flow in seconds.
The good news is that cold weather damage is almost always reversible. Kneaded erasers are made from rubber and gum, and these materials respond to warmth.
Key Takeaways
- Heat is your best friend. Body warmth, warm water, or a heating pad will soften most hardened kneaded erasers within minutes. Always use gentle heat, never direct flame.
- Friction matters too. Stretching, pulling, and kneading the eraser fast adds friction. This builds internal heat and restores elasticity quickly.
- Storage is half the battle. Keep your eraser in a small sealed container away from cold windows, drafts, and radiators. Room temperature drawers work best.
- Old erasers may not bounce back. If your eraser is years old, saturated with graphite, or crumbles when stretched, it has reached the end of its life. Replace it.
- Avoid extreme heat. Microwaves, ovens, and hairdryers on high settings will melt or ruin the rubber. Slow warmth always wins over fast heat.
- Soap and warm water clean and soften. A quick wash refreshes the eraser, removes grime, and helps soften the outer layer at the same time.
Why Kneaded Erasers Harden in Cold Weather
Kneaded erasers are made from a mix of unvulcanized rubber and gum. These materials stay soft at room temperature. But when the air gets cold, the rubber molecules slow down and stiffen. This is the same reason chewing gum gets hard in the freezer.
During winter, your studio, bag, or desk drawer may drop below 60°F. At this point, the eraser loses its putty feel. It becomes brittle, crumbly, or rock solid. Lack of use also speeds up hardening, because kneading the eraser keeps the material warm and flexible.
The fix is simple: restore the warmth and movement. Once you understand this, every solution below makes perfect sense. The goal is always to gently raise the temperature of the rubber without damaging it.
Method 1: Use Your Body Heat to Soften It
This is the easiest and safest method. Your hands stay around 90°F, which is the perfect temperature for softening rubber. Just hold the eraser tightly in your closed fist for two to five minutes.
Squeeze it every few seconds. Pass it from one hand to the other. The warmth from your skin slowly transfers into the eraser. After a short while, it will start to give under pressure.
You can also tuck it into your pocket while you set up your sketchbook. Body heat works quietly in the background while you prepare other supplies.
Pros: Free, safe, no tools needed, gentle on the eraser. Works anywhere.
Cons: Slow if your hands run cold. May not work for very stiff or old erasers. Requires patience.
Method 2: Stretch and Pull for Friction Heat
Friction creates heat fast. Grab the eraser and pull it into a long thin strip. Fold it back, then pull again. Do this as quickly as you can. The faster you stretch, the more heat builds up inside the rubber.
Within one or two minutes, you will feel the eraser start to soften. Keep going until it stretches smoothly without tearing. If it still cracks, give it a short break and try again.
Friction warming works best in combination with body heat. Hold the eraser tight, then stretch, then hold again. This cycle softens stubborn erasers quickly.
Pros: Fast, effective, no extra supplies required. Great for mild to moderate stiffness.
Cons: Hard erasers may tear or crumble before they soften. Tired hands after long sessions. Not ideal for very old erasers.
Method 3: Warm Water Bath
Warm water is one of the most reliable fixes. Fill a small bowl with water that feels comfortable to your fingers, around 100°F to 110°F. Drop the eraser in and let it sit for two to three minutes.
Take it out, dry it with a paper towel, and start kneading. The heat soaks through the rubber and brings back full flexibility. This method also doubles as a quick clean, removing graphite and dust at the same time.
For extra cleaning power, add a drop of mild hand soap. Rub the eraser between your palms, then rinse. Dry it well before use, or it may stick to paper.
Pros: Fast, cleans the eraser, very effective for deep hardness.
Cons: Wet eraser needs drying time. Hot water can be too harsh if not controlled. Adds a few extra steps.
Method 4: Heating Pad or Warm Towel
A heating pad set to low warmth is a gentle option. Place your eraser on the pad and cover it with a thin cloth. Leave it for five to ten minutes. The steady warmth will soften the rubber all the way through.
A warm towel works the same way. Heat a damp towel in the microwave for 20 seconds, then wrap the eraser inside. The slow, even heat prevents melting and gives you a perfectly soft eraser when you unwrap it.
This method is ideal for cold studio mornings. Set the eraser on the pad while you brew coffee or prepare your paper.
Pros: Even heat, very gentle, no risk of damage when used on low. Great for multiple erasers at once.
Cons: Needs a heating pad or microwave. Takes longer than friction or water. Easy to forget and overheat.
Method 5: Sunny Window Spot
If the sun is shining, place your eraser on a windowsill for ten to fifteen minutes. Even on cold days, direct sunlight can warm small objects to a comfortable softening temperature.
Put the eraser on a small piece of paper to keep it clean. Check it every few minutes. Sunlight warms slowly and evenly, which protects the rubber from damage.
This method is perfect for artists who like a no fuss approach. You can prep your eraser while you sketch a quick warm up drawing on the same desk.
Pros: Free, gentle, no equipment needed. Works in any room with a sunny window.
Cons: Depends on the weather. Slow on cloudy days. May attract dust if left too long.
Method 6: Knead It Like Dough
The name says it all. Kneading is what keeps the eraser alive. Treat it like bread dough. Press, fold, twist, and roll it between your palms for two to three minutes.
This motion combines body heat with friction. It also redistributes the rubber molecules, which keeps the eraser elastic. Regular kneading prevents future hardness and extends the life of the eraser.
If your hands feel cold, run them under warm water first. Dry them well, then start kneading. The warm hand and cold eraser combo softens the rubber faster than you might expect.
Pros: Builds a habit that prevents hardening. Cheap, easy, satisfying. Improves eraser performance.
Cons: Slower for very stiff erasers. Hard on your hands during long sessions. Less effective if the eraser is fully dried out.
Method 7: Store It Near a Warm Spot
Prevention is better than cure. Keep your eraser in a warm part of your room, not near a cold window or vent. A small tin or plastic box on your desk works well.
Avoid storing it on metal surfaces, which stay cold longer than wood or fabric. A pencil case in your bag near your body also keeps the eraser warm during travel.
Do not store it next to a radiator or heater. Direct high heat will melt the rubber and ruin its shape. Aim for a steady, mild warmth around 65°F to 75°F.
Pros: Prevents the problem before it starts. No effort once set up. Protects the eraser long term.
Cons: Requires planning. Not helpful if the eraser is already hard. Needs a stable room temperature.
Method 8: Mix With a Soft Eraser
If your kneaded eraser is partly hard and partly soft, you can blend the two. Cut a small piece off a fresh kneaded eraser and knead it into the old one. The soft rubber helps loosen the dry parts.
This trick works best with the same brand, since formulas vary. Mixing different brands may create lumps or sticky spots. Knead the combined eraser for at least five minutes for an even texture.
This method gives an old eraser a second life without throwing it away. It also reduces waste, which is great for budget conscious artists.
Pros: Saves money, reduces waste, revives older erasers. Useful for partial hardness.
Cons: Needs a fresh eraser to start with. May not work on fully dried out erasers. Takes time to blend properly.
Method 9: Avoid These Heating Mistakes
Some heating methods can ruin your eraser for good. Never microwave a kneaded eraser directly. The rubber will melt unevenly and turn into a gummy mess. The same goes for ovens and stovetops.
Hairdryers on high heat can also damage the surface. If you use one, set it to the lowest setting and hold it at least a foot away. Move the air constantly to avoid hot spots.
Boiling water is another bad idea. It softens the eraser too fast and breaks down the rubber structure. Always stick with warm, not hot, temperatures for safe results.
Pros: Knowing what to avoid saves you from ruining good erasers. Protects your art supplies long term.
Cons: None, this is purely useful safety information.
Method 10: Clean It With Soap and Water
A dirty eraser feels harder than it really is. Graphite, charcoal, and dust build up on the surface and make it stiff. Washing your eraser refreshes it, both inside and out.
Put a small drop of mild soap on your palm. Add the eraser and rub gently in circles. Rinse under warm water until the water runs clear. Pat it dry with a soft towel, then knead it back into shape.
A clean eraser picks up graphite better and feels much softer. Do this every few weeks during heavy use, or whenever the eraser looks gray or dark.
Pros: Cleans and softens at the same time. Extends eraser life. Easy and cheap.
Cons: Needs drying time. Too much soap can leave residue. May not fix deeply dried out erasers.
Method 11: Know When to Replace It
Sometimes an eraser is simply finished. If it crumbles, tears, or refuses to stick together after warming, it has reached the end. Kneaded erasers last about one to two years with regular use.
Signs of a dead eraser include a chalky surface, deep cracks, dry crumbs, and a uniform dark gray color all the way through. No amount of warming will fix these issues. The rubber has lost its bond with the gum.
Buying a fresh eraser is the best move at this point. Store the new one properly from day one to avoid the same problem.
Pros: Saves time wasted on lost causes. A new eraser performs much better. Fresh supplies feel great.
Cons: Costs a small amount of money. Creates waste. May feel wasteful for thrifty artists.
Frequently Asked Questions
How long does it take to soften a hardened kneaded eraser?
Most methods work within two to ten minutes. Body heat and friction take the longest, while warm water softens the eraser fastest. Very stiff erasers may need a combined approach.
Can I put my kneaded eraser in the microwave?
No. Microwaving will melt the rubber unevenly and ruin the eraser. Stick with warm water, body heat, or a low heating pad for safe results.
Why does my eraser tear when I stretch it?
Tearing means the rubber is too cold or too old. Warm it gently first, then stretch slowly. If it keeps tearing after warming, the eraser is past its useful life.
How should I store my kneaded eraser in winter?
Keep it in a small sealed container at room temperature. Avoid cold windows, drafty spots, and metal surfaces. A pencil case in your bag also works well.
Can I use a hairdryer to soften my eraser?
Yes, but only on the lowest heat setting. Hold the dryer at least a foot away and keep the air moving. High heat will melt or warp the rubber.
Does washing a kneaded eraser really work?
Yes. Warm water and mild soap clean off graphite and dust, which makes the eraser feel softer right away. Dry it fully before using it on paper.
How often should I knead my eraser?
Knead it every time you sit down to draw. A quick one minute warm up keeps the rubber elastic and prevents winter hardening before it starts.

Hi, I’m Zoe Ward, the creator and voice behind Fine Brush Vault. I’m passionate about art, painting, and exploring the world of colors. I spend my time testing and reviewing art supplies to help fellow creators find the best tools for their craft. Through honest reviews and detailed guides, my goal is to make your creative journey easier and more inspiring.