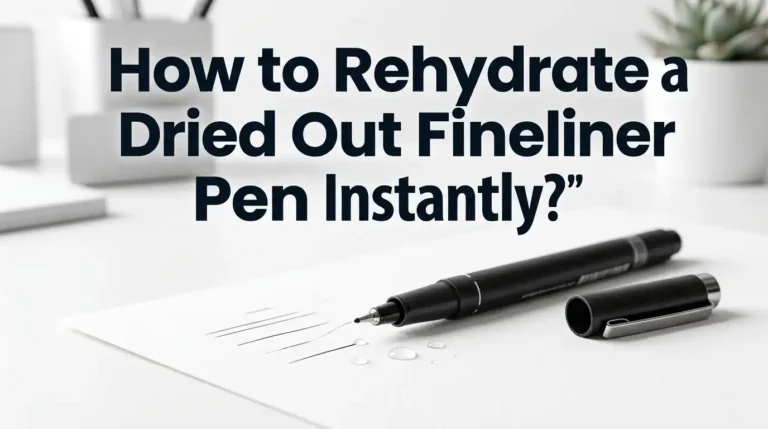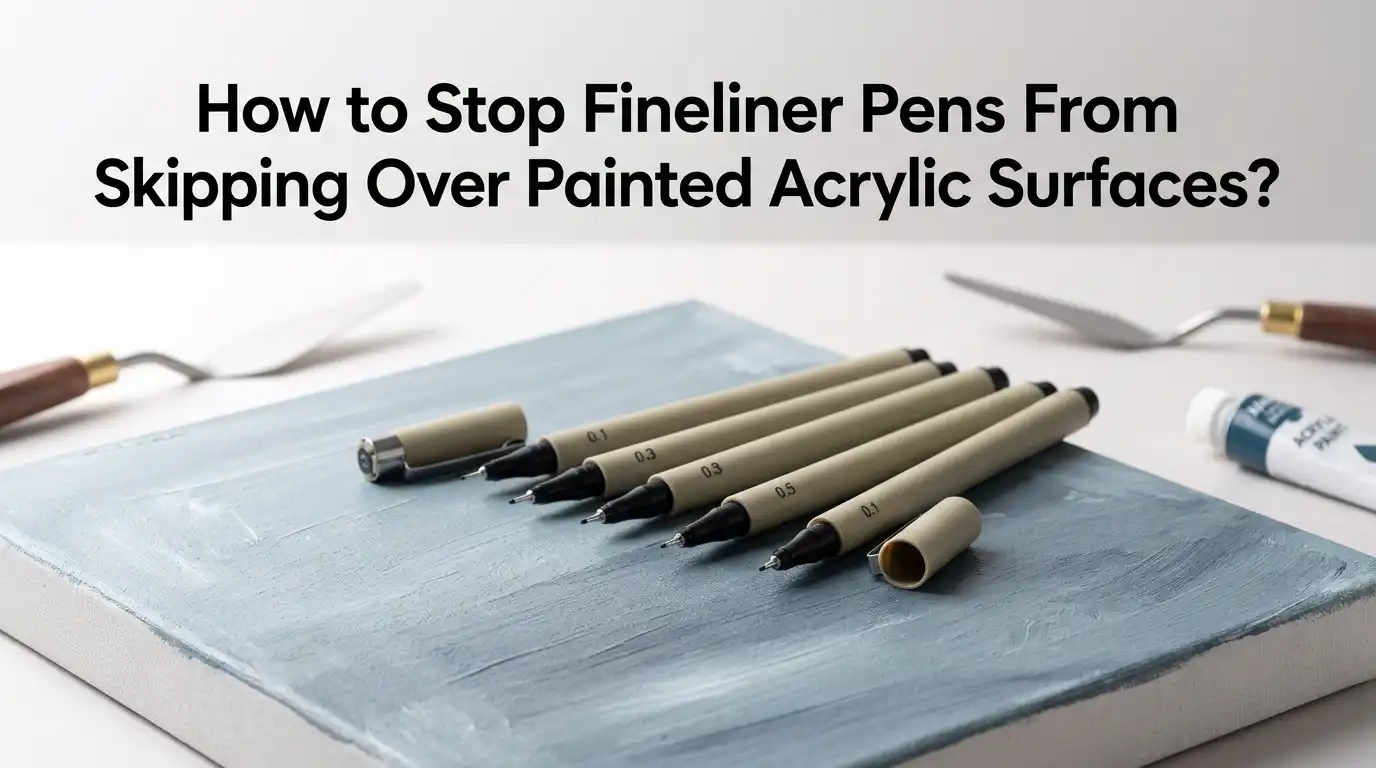
How to Stop Fineliner Pens From Skipping Over Painted Acrylic Surfaces?
A fineliner should glide. It should not scratch, fade, or leave broken lines across your painted area. Yet that is exactly what happens on many acrylic surfaces. The paint looks dry, but the pen skips. The line starts, stops, and turns patchy. It can ruin details fast.
The good news is that this problem usually has a clear cause. The surface may be too slick. The paint may still be curing. There may be dust, oil, or a soft paint film under the pen.
In some cases, the pen is the wrong tool for that surface. In other cases, the fix is simple. You only need to change the surface before you draw. This guide shows you the best fixes in plain steps so you can get clean lines without wasting pens, paint, or time.
Key Takeaways
- Acrylic paint can feel dry before it is fully ready for pen work. Thin paint layers may be ready in a day or two, but thicker paint on a smooth board can stay soft for much longer. If your pen drags or smears, wait longer first. That one change solves more problems than most people expect.
- A glossy acrylic surface is a common reason for skipping. Fineliners work best when the surface has a little grip. If the paint film is slick, the nib slides across it and leaves broken marks. A matte surface usually gives better control and better ink contact.
- Clean surfaces matter more than people think. Dust, skin oil, dried medium, and even tiny bits of loose paint can block the nib. Wiping the area with a soft cloth before drawing can help right away. If the surface still feels smooth and glassy, you may need a light prep layer.
- Clear gesso, matte ground, or a very light sanding can add tooth. These methods give the pen something to hold on to. Each one has a different feel. Clear gesso keeps the image visible. Sanding is fast but must be gentle. The best method depends on how much texture you want.
- Pen choice matters. Standard fineliners often struggle on painted acrylic, especially on thick or shiny passages. A pigment liner may work on smoother areas, but textured paint may need an acrylic marker, dip pen, or fine line applicator instead. Use the tool that matches the surface, not just the one you already own.
- Always test before you commit. Make a small sample with the same paint, same medium, and same final finish. Then try your pen on it. This shows whether the line will skip, bleed, smear, or stay sharp. A two minute test can save a finished piece from damage.
Why Fineliner Pens Skip on Acrylic Paint
Fineliners skip because acrylic paint often dries into a sealed plastic film. That film can be too smooth for the nib to grip well. The ink does not settle evenly, so the line breaks apart.
Another cause is texture. A painted surface may look flat, but tiny ridges can lift the nib away from the surface. Then the line becomes dotted or faint. This is very common on thick brushstrokes or heavy body paint.
Drying time matters too. Acrylic paint can be touch dry long before it is fully cured. A soft paint film can grab the nib, clog it, or drag the ink. Dust and skin oil make things worse.
Pros of knowing the cause: You can fix the real issue, not guess. You also protect your pens from damage.
Cons: The cause is not always just one thing. You may need to fix both the surface and the pen choice.
Let the Acrylic Paint Dry Longer Than You Think
Acrylic dries in stages. The top can feel dry very fast, but the full paint layer may still hold moisture for much longer. That matters because a fineliner works best on a stable, firm surface.
Thin paint on canvas may be ready sooner. Thick paint on a smooth board or sealed panel may need days or even weeks. If the paint still feels cool, tacky, or soft, wait longer. A little patience often gives a much cleaner line.
Good airflow helps. Place the piece in a clean room with moving air. Do not rush with heavy heat, because that can stress the paint film. A fan at a distance is safer.
Pros: Free fix, easy, low risk, protects both painting and pen.
Cons: It takes time, and it may not solve skipping if the surface is still too glossy after curing.
Clean the Surface Before You Draw
Acrylic surfaces collect more grime than many artists expect. Dust lands on tacky paint. Skin oil transfers from your hands. Dry medium can leave a slick film. All of that can interrupt ink flow.
Use a soft, lint free cloth and wipe the area gently. If the painting is fully dry, you can use a barely damp cloth and then let the area dry again. Keep your hands off the drawing zone after cleaning. A clean surface gives the nib a fair chance to work.
Also check the pen nib itself. If old paint, dust, or paper fiber sits on the tip, the line will skip even on a good surface. Clean or replace the nib if needed.
Pros: Fast, simple, and often enough for minor skipping.
Cons: It will not fix a surface that is too slick or too textured.
Reduce Gloss So the Pen Can Grip the Surface
A glossy acrylic finish looks great, but many fineliners hate it. The nib can skate across the paint film instead of making full contact. That is why broken lines show up on shiny passages first.
If your paint layer is glossy, add a matte layer before drawing. A matte acrylic medium or matte ground can reduce slip and give a better feel under the nib. Keep the layer thin and even. Let it dry well before testing.
The goal is simple. You want less slide and more control. A slight matte finish often improves both line quality and hand pressure.
Pros: Better grip, better control, cleaner line work.
Cons: A matte layer can slightly change the look of the painted area, especially if you love a glossy finish.
Add Tooth With Clear Gesso or Matte Ground
If the surface is still too smooth, add a thin layer of clear gesso or a drawing ground. These products give the surface tooth without fully hiding the paint underneath. That extra grip helps fineliners, pencils, and other drawing tools behave better.
Brush on a thin coat and avoid overworking it. Let it dry fully. If needed, add a second thin coat. Clear gesso often dries with a matte feel, which is useful for line work. This is one of the most reliable fixes for repeated skipping.
A matte ground can do the same job with a slightly different feel. Try both on test pieces before using them on final work.
Pros: Strong fix, good grip, keeps the image visible, works well for mixed media.
Cons: It changes the surface feel, and a thick coat can look cloudy or too rough.
Sand Lightly if the Surface Feels Like Plastic
Some acrylic paintings dry with a very slick skin, especially on rigid supports. In that case, very light sanding can help. Use fine sandpaper and touch the surface gently. Your goal is to soften the shine, not remove the artwork.
Wipe away sanding dust with a soft cloth before testing your pen. If you want a softer look, stop there. If you want more grip, add clear gesso after sanding. A little sanding can make a big difference, but only if you stay gentle.
Never scrub hard over delicate details. Test in a corner or on a sample first. This method works best on cured paint, not fresh paint.
Pros: Fast, low cost, effective on slick surfaces.
Cons: It can scratch the painting if you press too hard. It also creates dust and needs care.
Choose a Pen That Matches the Surface
Many artists blame themselves when the real problem is the tool. A standard fineliner works well on paper, but painted acrylic is a different surface. Some nibs are too soft. Some inks sit on top and fail to flow well.
For smoother painted areas, a pigment liner may work. For rough or layered surfaces, a fine acrylic marker, technical pen, or dip pen with suitable ink may work better. If you need lines over heavy texture, a fine line applicator can also help. The right tool saves a lot of frustration.
Do not push a delicate pen into textured paint. That ruins the nib fast and makes skipping worse.
Pros: Better line quality, less nib damage, more control.
Cons: You may need to test more than one tool before finding the best match.
Use Light Pressure and Slow, Steady Strokes
A fineliner is not meant to dig into a painted surface. Heavy pressure flattens the nib, catches on tiny ridges, and blocks ink flow. Many skipping problems get worse because the hand presses harder to force a darker line.
Start with a very light touch. Hold the pen at a natural angle and move slowly. Let the nib ride the surface instead of scraping it. If the line breaks, stop and test the surface again instead of pressing harder. More force rarely gives a better result here.
Short strokes also help. Long fast lines can skip over raised paint areas. Slow sections give you more control and better ink contact.
Pros: Free fix, protects the nib, improves control.
Cons: It takes practice, and it will not overcome a surface that is badly prepped.
Prime and Check the Pen Before Blaming the Painting
Sometimes the painting is fine and the pen is the issue. A partly clogged nib, dry ink channel, or worn tip can cause skipping on any surface. Acrylic paint is hard on pen tips, so small damage matters.
Before you draw on your artwork, scribble on smooth paper for a few seconds. See if the flow becomes steady. If the line still breaks, the pen may be dry or damaged. Replace it or clean it if the design allows that.
A simple check saves you from changing the surface for no reason. It also helps you learn whether the pen is reliable enough for detail work.
Pros: Quick diagnosis, no risk to the painting, helps avoid wasted prep.
Cons: A good pen can still fail on a bad surface, so this is only one part of the fix.
Test Every Method on a Sample Panel First
This step feels boring, but it saves finished work. Make a small sample with the same paint, same medium, and same final prep as your artwork. Then try your fineliner on it before you touch the real piece.
Test a few options. Try the pen on raw painted acrylic. Then try it after cleaning. Then try it after a matte layer or clear gesso. Compare line strength, smoothness, and drying time. You will see the best fix in minutes.
Testing also shows whether your final sealer will disturb the line. Some inks look dry but still smear if sealed too soon.
Pros: Very low risk, clear results, builds confidence before final details.
Cons: It adds an extra step and uses a little more material.
If Fineliners Still Skip, Switch to Better Line Making Options
Sometimes a fineliner is simply the wrong tool for the job. If your surface has deep brush texture, grit, or thick paint ridges, a tiny felt or fiber tip may never work well. That does not mean you failed. It means you need a tool that can handle the surface.
Acrylic markers can cover rough paint better. Dip pens can give crisp lines on prepared surfaces. Fine line applicators can lay fluid paint or ink over rough texture with less skipping. Colored pencil can also work on a toothy matte ground.
The smart fix is the one that gives clean lines with the least damage. Do not stay loyal to one tool if the surface clearly wants another.
Pros: Better results on hard surfaces, more line options, less frustration.
Cons: New tools need testing, and some give a different look than a classic fineliner.
Seal Your Final Line Work Without Smearing It
After you get clean lines, protect them the right way. Many artists lose good detail at the last step because they seal too soon. Ink can feel dry on the surface but still react under a wet coat or spray.
Let the line work dry longer than you think it needs. Then test your sealer on a sample panel first. Use light coats and build slowly. Do not flood the surface. If your ink is water sensitive, a heavy wet layer can make it blur.
Final protection matters as much as the drawing step. A careful seal keeps your lines sharp and your surface stable.
Pros: Protects detail, improves durability, gives a finished look.
Cons: Wrong timing or wrong sealer can smear the lines and undo your work.
Build a Simple Workflow That Stops Skipping Every Time
The easiest way to stop fineliner skipping is to use a repeatable order. Let the paint dry well. Clean the surface. Reduce gloss if needed. Add tooth if needed. Test the pen. Draw with light pressure. Seal only after the line is fully dry.
This workflow works because it fixes the main causes in the right order. You do not waste time sanding a surface that only needed more drying time. You do not ruin a pen on a dirty or shiny area. A simple process gives steady results and less stress.
Write your own version on a studio note card. Once you find the prep that suits your style, keep it the same for future pieces.
Pros: Easy to repeat, fewer mistakes, better results over time.
Cons: It takes discipline, especially if you like to work fast.
FAQs
Can I use a normal fineliner directly on dry acrylic paint?
Yes, sometimes. It works best on flat, matte, fully dry paint. It often fails on glossy, slick, or textured areas. Test first before using it on final details.
Why does my pen work on one painted area but not another?
Different paint areas can dry with different textures and finishes. One patch may be matte and smooth. Another may be glossy or raised. The pen reacts to those changes.
Is clear gesso better than sanding?
It depends on the problem. Clear gesso is better if you want added tooth across the whole area. Sanding is better if the surface is only too slick and you want a quick fix.
What is the safest way to stop smudging after I finish the line work?
Let the ink dry fully, test your sealer on a sample, and use light coats first. Rushing the sealing step is a common reason for smears.

Hi, I’m Zoe Ward, the creator and voice behind Fine Brush Vault. I’m passionate about art, painting, and exploring the world of colors. I spend my time testing and reviewing art supplies to help fellow creators find the best tools for their craft. Through honest reviews and detailed guides, my goal is to make your creative journey easier and more inspiring.