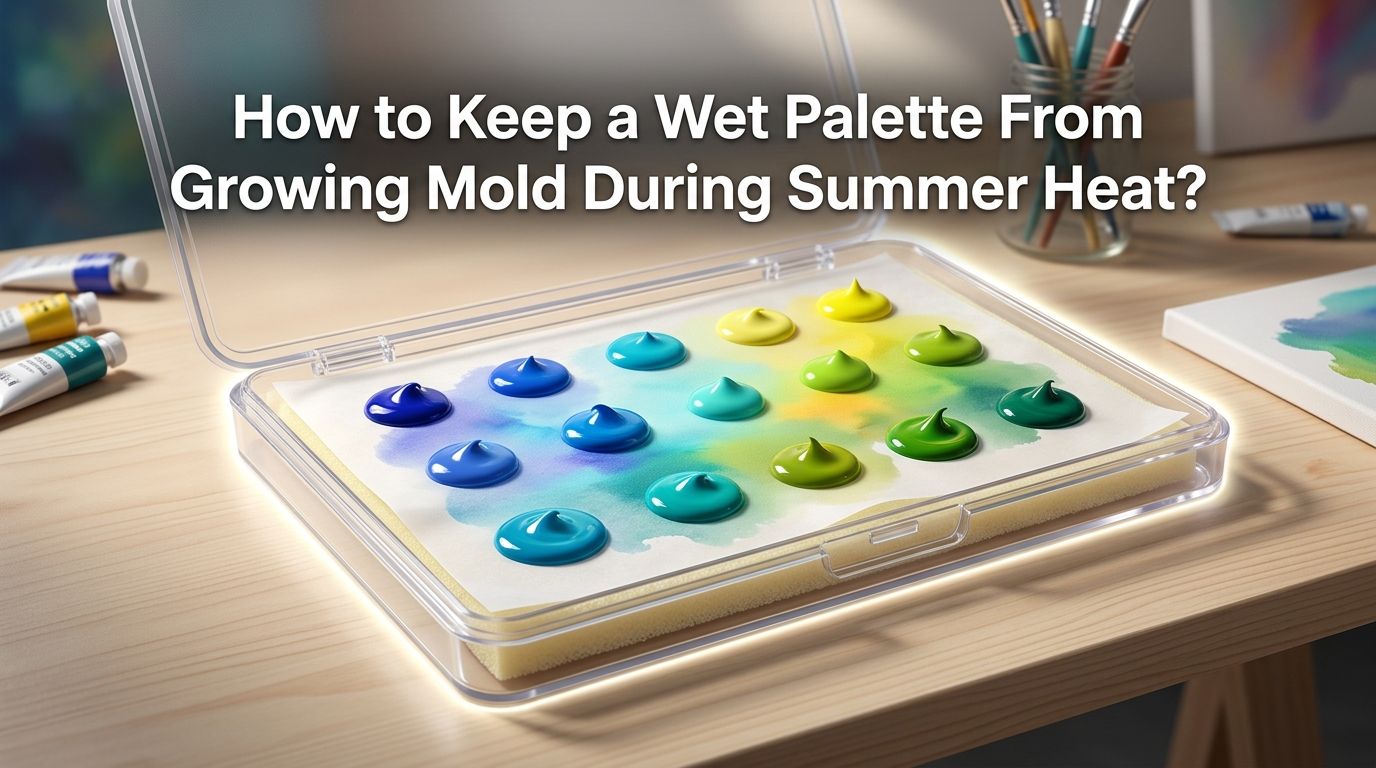
How to Keep a Wet Palette From Growing Mold During Summer Heat?
Summer heat turns your wet palette into a mold factory. The warm, moist environment inside a sealed palette is the perfect breeding ground for fungal spores, and many painters discover fuzzy green or black spots within just a day or two.
If you paint miniatures, acrylics, or any water based medium, you know how frustrating it is to open your palette and find it ruined.
The good news? Mold growth in a wet palette is completely preventable. You do not need to stop using a wet palette during hot months.
In a Nutshell
- Clean your wet palette often. The single most effective way to stop mold is regular cleaning. Empty the water, wash the tray with soap, and replace your sponge and parchment paper at least every few days during summer. Mold spores latch onto old, stagnant moisture, so fresh water and fresh materials remove their food source before colonies can form.
- Use distilled or deionized water instead of tap water. Tap water contains minerals, chlorine residue, and organic matter that can feed mold. Distilled water has fewer nutrients for spores to consume. This one small swap can slow mold growth significantly in warm conditions.
- Add a mild antimicrobial agent to your palette water. A tiny amount of hydrogen peroxide, a drop of household ammonia, or a very diluted bleach solution can stop mold before it starts. These additives are safe for acrylic paints in small concentrations and make a noticeable difference.
- Place copper inside your palette. Copper is a natural antimicrobial material. Painters have placed pre 1982 copper pennies or small copper strips under their sponge to slow mold and bacterial growth. This method is low effort and lasts a long time.
- Store your wet palette in the refrigerator between sessions. Cold temperatures slow the biological processes that cause mold. If you seal your palette tightly and place it in the fridge, you can extend paint life and reduce mold risk at the same time.
- Control your painting environment. Running a fan, using air conditioning, or painting in a cooler room reduces the ambient temperature around your palette. Mold thrives above 77°F (25°C), so even a slight drop in room temperature makes a difference during summer.
Why Mold Grows Faster in Wet Palettes During Summer
Mold needs three things to grow: moisture, warmth, and organic material. A wet palette provides all three. The sponge is soaked with water. The sealed lid traps humidity inside. And paint residue, skin cells from your hands, and even dust particles all serve as food for mold spores.
During summer, room temperatures climb. Many hobby rooms, garages, and studios sit above 80°F without air conditioning. At these temperatures, mold can visibly appear in as little as 24 hours. Higher humidity levels common in summer months compound the problem further.
Mold spores are already floating in the air around you. They land on your palette every time you open the lid. In winter, cooler temperatures keep these spores dormant. Summer heat activates them and accelerates their reproduction cycle.
How to Clean Your Wet Palette Properly
Regular cleaning is the foundation of mold prevention. Start by removing the parchment paper and sponge from the tray. Wash the tray with warm water and a small amount of dish soap. Scrub all corners and edges where residue can hide.
Rinse the sponge under running water and squeeze it several times. If the sponge has any discoloration or smell, replace it immediately. A sponge with embedded mold spores will recontaminate your palette even after washing.
Let all parts dry completely before reassembling. Air drying in sunlight is ideal because UV rays have a natural antimicrobial effect. During summer, plan to do this full cleaning routine every two to three days if you paint frequently.
Pros: This method costs nothing and is the most reliable way to prevent mold.
Cons: It takes time, and you lose any paint currently on your palette during the cleaning process.
Switch to Distilled or Deionized Water
Tap water carries minerals, dissolved organic compounds, and trace amounts of bacteria. These substances give mold additional nutrients to feed on. Distilled water removes most of these impurities and creates a less hospitable environment for spore growth.
You can buy distilled water at almost any grocery store. Simply use it to wet your sponge and hydrate your parchment paper. Many painters report a noticeable improvement in how long their palettes stay mold free after making this switch.
Deionized water works the same way and is sometimes easier to find in certain regions. Either option is inexpensive and effective.
Pros: Very affordable and easy to implement. Does not affect paint behavior.
Cons: Distilled water alone will not fully prevent mold. It reduces the risk but should be combined with other methods for best results.
Add Hydrogen Peroxide to Your Palette Water
A small amount of 3% hydrogen peroxide mixed into your palette water acts as a gentle antimicrobial agent. The recommended ratio is about one teaspoon of hydrogen peroxide per quarter cup of water. This concentration is strong enough to slow mold growth but mild enough to leave your acrylic paints unaffected.
Spray the solution onto your sponge before laying down parchment paper. You can also mist the inside of your palette tray with a spray bottle. Hydrogen peroxide breaks down into water and oxygen over time, so it does not leave behind harsh chemicals.
Some painters reapply a light spritz each time they sit down to paint. This refreshes the antimicrobial protection without disrupting the paint already on the palette surface.
Pros: Inexpensive, widely available, and breaks down into safe byproducts. Does not leave residue.
Cons: Loses effectiveness over time and needs regular reapplication. Very high concentrations could potentially thin paint or alter consistency.
Use a Diluted Bleach Solution
A very weak bleach solution is another effective mold deterrent. The ratio is roughly 5 milliliters of household bleach per one liter of water. This creates a concentration strong enough to kill mold spores but dilute enough that it will not damage your sponge, tray, or paper.
Use this solution to soak your sponge before placing it in the palette. You can also wipe down the interior of the tray with a cloth dampened in this mixture. The chlorine in bleach is highly effective against fungal growth and provides longer lasting protection than hydrogen peroxide.
Be careful with the amount. Too much bleach can affect paint properties and produce an unpleasant smell. Stick to the recommended dilution ratio.
Pros: Very effective at killing mold spores. Cheap and easy to prepare.
Cons: Strong odor if over applied. Can degrade sponge material over time if used at higher concentrations. Some painters worry about bleach altering paint color.
Place Copper in Your Wet Palette
Copper has natural antimicrobial properties. Copper ions disrupt the cell membranes of bacteria and fungi, making it harder for mold to establish colonies. Many miniature painters place pre 1982 pennies (which are 95% copper) underneath their palette sponge.
You can also use small copper strips, copper mesh, or even copper wire. Place the copper at the bottom of the tray before adding the sponge. The copper slowly releases ions into the water and creates an inhospitable surface for microorganisms.
This method is passive and requires no regular maintenance. The copper works as long as it is in contact with the moisture in your palette. However, some painters note that copper alone may not be enough in very hot or humid environments.
Pros: Extremely low maintenance. Lasts for months. No chemicals added to your paint water.
Cons: Effectiveness is debated among painters. Works best as a supplemental method rather than a standalone solution. Pre 1982 pennies may be hard to find.
Store Your Wet Palette in the Refrigerator
Cold temperatures dramatically slow mold growth. If you seal your wet palette with a tight fitting lid and place it in the refrigerator between painting sessions, you can keep your paints fresh and mold free for days or even weeks.
The ideal refrigerator temperature range of 35°F to 40°F (2°C to 4°C) is far below the zone where mold thrives. Painters who use this method often report going a full week or more without any mold appearing, even during peak summer heat.
Make sure the lid seals well so food odors do not contaminate your palette. A strip of plastic wrap under the lid adds an extra layer of protection. Take the palette out about 15 minutes before you plan to paint so the paints return to room temperature.
Pros: Highly effective mold prevention. Also extends the usable life of mixed paints.
Cons: Requires refrigerator space. Paints may feel slightly stiff when cold and need a few minutes to warm up. Not practical for painters who keep their palette on a desk at all times.
Control Your Room Temperature and Humidity
Your painting environment has a direct impact on mold growth. Mold grows fastest at temperatures above 77°F (25°C) and humidity levels above 60%. If your room regularly exceeds these thresholds in summer, your palette becomes a high risk target.
Run an air conditioner or a fan near your painting area. A small dehumidifier can also reduce moisture in the air. Even lowering room temperature by five degrees can make a meaningful difference in how quickly spores reproduce.
If you paint in a garage or a room without climate control, consider moving to a cooler space during peak summer months. Keeping your palette out of direct sunlight also prevents the tray from heating up beyond room temperature.
Pros: Benefits your overall comfort and protects all your painting supplies, not just the palette.
Cons: Running an air conditioner or dehumidifier increases energy costs. Not all painters have climate control options.
Replace Sponge and Paper on a Regular Schedule
Old sponge material harbors mold spores deep inside its pores. Washing alone cannot always remove embedded spores, especially from well used sponges. Replacing the sponge entirely is sometimes the only way to start fresh.
During summer, consider replacing your sponge every one to two weeks if you paint frequently. Parchment paper should be swapped every few days. These small replacements prevent old mold colonies from reinfecting a freshly cleaned palette.
If you notice any discoloration, sliminess, or musty smell on the sponge, replace it immediately regardless of schedule. Mold can spread from one small contaminated spot to your entire palette within hours in summer heat.
Pros: Guarantees a clean surface. Removes deeply embedded spores that cleaning cannot reach.
Cons: Creates ongoing material cost. Requires keeping extra sponges and paper in stock.
Try Vinegar as a Natural Mold Deterrent
White vinegar is a natural fungicide that many painters use as a safe alternative to bleach. Add a few drops of white vinegar to your palette water before wetting the sponge. Vinegar changes the pH of the water and creates conditions that slow mold growth.
You can also wipe down the inside of your palette tray with undiluted vinegar during your cleaning routine. The acetic acid in vinegar kills most common mold species on contact and evaporates without leaving harmful residues.
The smell of vinegar fades quickly once the tray is rinsed and reassembled. Most painters find that it does not affect paint consistency or color at the small amounts used.
Pros: Nontoxic, food safe, and inexpensive. Easy to find in any kitchen.
Cons: Less effective than bleach or hydrogen peroxide for severe mold problems. The smell can be off putting during the initial application.
Do Not Leave Your Palette Sealed and Unused for Days
One of the biggest mistakes painters make in summer is closing their wet palette and forgetting about it for a week. A sealed palette with warm, stagnant water is the ideal incubator for mold. Without airflow or fresh water, spores multiply unchecked.
If you are not going to paint for several days, empty your palette completely. Remove the sponge, pour out the water, and let everything air dry. It takes just a few minutes to re wet a palette when you are ready to paint again.
Some painters leave the lid cracked open slightly if they plan to return within a day. This allows moisture to escape and prevents the closed, humid environment that mold loves. Just note that this will dry out your paints faster.
Pros: Simple behavior change that costs nothing. Eliminates the primary condition that causes mold.
Cons: You lose the convenience of having paint ready to use at any moment. Re wetting the palette adds a small amount of prep time.
Signs That Mold Has Already Taken Hold
Catching mold early saves your palette and your paint. The first sign is usually a musty or sour smell when you open the lid. Visible signs include small black, green, or white fuzzy spots on the sponge, paper, or inside the tray walls.
If you see any mold, do not simply wipe it off and continue painting. Mold releases spores that spread invisibly across every surface. Remove and discard the sponge and paper immediately. Wash the tray thoroughly with hot soapy water, then disinfect with hydrogen peroxide, bleach solution, or vinegar.
Let the tray dry fully in sunlight before reassembling. This complete reset is the only way to ensure you have eliminated the colony. Painting on a mold contaminated palette can introduce spores into your paint bottles and ruin them as well.
Best Combination Strategy for Summer Mold Prevention
No single method is foolproof. The most effective approach combines multiple strategies. Start by using distilled water with a teaspoon of hydrogen peroxide. Place a copper penny under the sponge. Clean your palette every two to three days and replace the sponge weekly.
Store the palette in the refrigerator between sessions if your room temperature exceeds 77°F. Keep your painting area as cool and dry as possible. This layered approach attacks mold from every angle and provides reliable protection even in the hottest summer conditions.
Track what works best for your local climate and painting habits. Painters in humid coastal areas may need more aggressive prevention than those in dry inland regions. Adjust your routine based on results.
Frequently Asked Questions
Can mold in my wet palette ruin my paint bottles?
Yes. If you dip a brush into mold contaminated palette water and then into a paint bottle, you can transfer spores. Those spores can grow inside the bottle over time and ruin the entire container. Always make sure your palette is clean before loading paint from your bottles.
How often should I change my wet palette water in summer?
You should change the water every one to two days during hot weather. Fresh water removes accumulated organic material and prevents stagnant conditions. If you add hydrogen peroxide or another antimicrobial, you still need to refresh the water regularly.
Is it safe to use bleach in a wet palette?
A very diluted bleach solution is safe for most wet palette setups. Use no more than 5 milliliters of bleach per liter of water. At this low concentration, bleach will not damage your sponge or alter paint properties. Avoid using bleach at full strength.
Do copper pennies really prevent mold?
Copper has documented antimicrobial properties. Pre 1982 pennies contain about 95% copper and can slow mold growth when placed under the sponge. However, copper works best as a supplemental method and should be combined with good cleaning habits and other prevention strategies.
Can I use my wet palette during summer without mold problems?
Absolutely. Summer does not mean you have to stop using a wet palette. With regular cleaning, antimicrobial water additives, proper storage, and climate control, you can keep your palette mold free all season. The key is consistent maintenance rather than any single magic trick.
What temperature is too hot for a wet palette?
Mold growth accelerates significantly above 77°F (25°C). If your painting room regularly exceeds this temperature, you should use refrigerator storage between sessions and consider adding antimicrobial agents to your palette water. Any room above 85°F (29°C) will likely cause mold within 24 hours without preventive measures.

Hi, I’m Zoe Ward, the creator and voice behind Fine Brush Vault. I’m passionate about art, painting, and exploring the world of colors. I spend my time testing and reviewing art supplies to help fellow creators find the best tools for their craft. Through honest reviews and detailed guides, my goal is to make your creative journey easier and more inspiring.