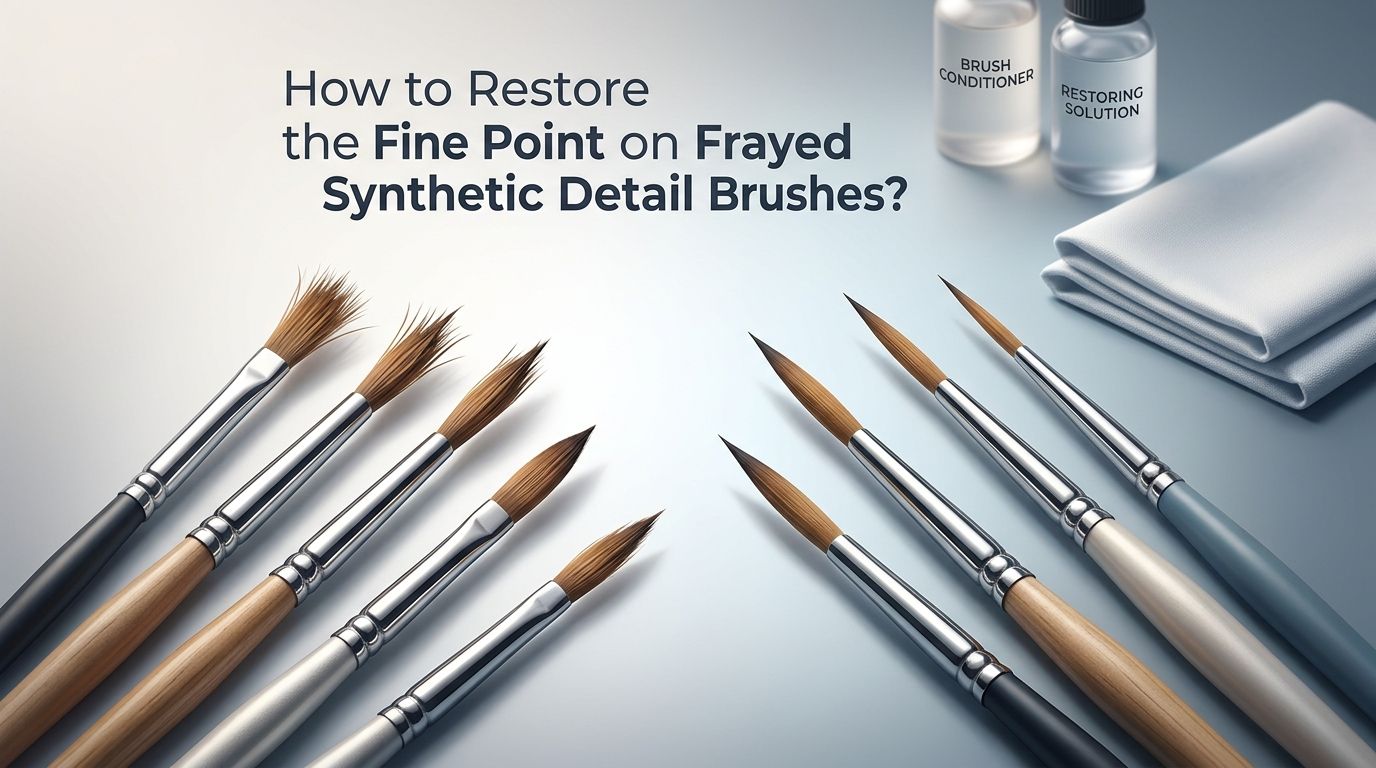
How to Restore the Fine Point on Frayed Synthetic Detail Brushes?
Every painter knows the frustration. You pick up your favorite synthetic detail brushes, load some paint, and realize the once sharp point has turned into a splayed mess.
Those tiny filaments that once created crisp, controlled lines now fan out in every direction. Your fine detail work suffers. Your patience runs thin. And the thought of replacing that brush stings, especially when quality detail brushes are not cheap.
Here is the good news. A frayed synthetic detail brush does not have to go in the trash. Synthetic filaments are made from nylon or polyester, and these materials respond well to heat and reshaping.
In a Nutshell
- The boiling water method is the most popular and effective fix for frayed synthetic brushes. Synthetic filaments are essentially plastic, and brief contact with boiling water softens them enough to reshape. A quick dip of two to three seconds can reset the memory of the filaments and restore a sharp point.
- Brush repair gels and brush soap conditioners offer a secondary reshaping option. These products coat the filaments and hold them in place while they dry, training them back to their original shape over time.
- The egg white and gum arabic method provides a low cost alternative that artists have used for years. These natural binders mimic the factory coating that keeps new brushes pointed on the shelf.
- Prevention matters more than repair. Proper cleaning, correct storage, and good painting habits will keep your detail brushes sharp far longer than any restoration method. Never let paint dry in the ferrule, and always store brushes flat or tip down.
- Some brushes are beyond saving. If the filaments are permanently kinked, broken at the ferrule, or clogged with dried paint deep inside the metal collar, no amount of reshaping will bring them back. Knowing when to let go saves you time and frustration.
Why Synthetic Detail Brushes Fray in the First Place
Understanding the cause of fraying helps you choose the right fix. Synthetic brush filaments are made from nylon, polyester, or a blend of both. These materials hold a shape well, but they can lose that shape under certain conditions.
The most common cause is dried paint buildup inside the ferrule. Paint creeps up the filaments during use and dries at the base where the metal collar holds the bristles. This dried paint pushes the filaments apart and prevents them from coming together at a fine point.
Aggressive cleaning also damages synthetic filaments. Scrubbing the brush hard against a palette or cleaning pad bends the tips. Over time, these bent tips develop a permanent curve, making the brush splay outward.
Poor storage is another major factor. Leaving a brush standing tip down in a water cup uses the weight of the brush to bend the filaments. Even a few minutes in this position can cause lasting damage. Storing brushes upright while still wet allows dirty water to run back into the ferrule, where it deposits paint residue and weakens the glue holding the filaments.
Pros of understanding root causes: You can prevent future fraying. You save money on replacement brushes.
Cons: Some damage from dried paint in the ferrule is permanent and cannot be fixed by any reshaping method.
Gather Your Supplies Before You Start
Before you attempt any restoration, collect everything you need. Having your materials ready makes the process smooth and reduces the chance of mistakes. For the boiling water method, you need a kettle or small pot, a cup or mug, and a flat surface for drying.
For the brush repair gel method, you need the gel product itself and a clean rag or paper towel. For the egg white method, you need a freshly cracked egg and the shell with residual egg white still inside.
Across all methods, you will want mild brush soap or gentle dish soap for pre cleaning. A pair of fine tweezers is helpful for removing stray filaments that stick out at odd angles. Keep a soft cloth nearby for reshaping the bristles after treatment.
A clean brush responds to restoration far better than a dirty one. Make sure every trace of old paint is removed from the filaments before you try any reshaping technique. Dried paint locked in the bristles will block the filaments from coming together no matter what method you use.
The Boiling Water Method: The Most Effective Fix
This is the go to technique recommended by miniature painters, watercolorists, and art instructors alike. Synthetic filaments are thermoplastic, meaning heat softens them and allows them to be reshaped. Boiling water provides enough heat to reset the filament memory without destroying the brush.
Start by boiling a small amount of water in a kettle or pot. Pour the boiling water into a heat safe cup or mug. Clean your brush thoroughly with mild soap and warm water first. Then dip only the bristles into the boiling water for two to three seconds. Do not submerge the ferrule, because boiling water can loosen the glue that holds the filaments in place.
Pull the brush out and immediately reshape the bristles with your fingertips. Pinch them gently and roll them to a point. If the brush still looks splayed, dip it again for another two to three seconds and reshape once more. You can repeat this process three or four times.
Lay the brush flat on a clean surface to dry completely. Do not stand it upright. The result is often dramatic. Many painters report their brushes looking nearly as good as new after this simple treatment.
Pros: Free, fast, and highly effective. Works on most synthetic filaments. No special products needed.
Cons: Does not work on natural hair brushes at boiling temperature. Risk of loosening ferrule glue if you submerge too deep. Very badly damaged brushes may not fully recover.
The Egg White Reshaping Trick
This method sounds unusual, but it has a solid basis. Brush manufacturers coat new brushes with a stiffening agent to preserve the point during shipping. Egg white acts as a similar natural binder that holds filaments in shape while they dry.
Crack an egg and use the contents for cooking. Keep the shell with the thin layer of egg white still clinging to the inside. Clean your brush thoroughly and remove all paint. Dip the bristles into the residual egg white inside the shell and swirl gently to coat the filaments evenly.
Do not touch the bristles after coating them. Let the egg white dry naturally, and the filaments will stiffen into a fine point. This process works best when combined with the boiling water method. Dip in boiling water first, reshape, then coat with egg white and let dry overnight.
When you are ready to paint, simply rinse the dried egg white out with water. The brush should hold its restored shape. Some artists repeat this process after every painting session as a form of ongoing brush maintenance.
Pros: Extremely affordable and accessible. Mimics factory brush coating. Combines well with other methods.
Cons: Temporary hold that washes away with water. Requires a fresh egg each time. May attract pests if brushes are stored in warm, humid spaces.
Using Brush Repair Gel for Stubborn Cases
Brush repair gel is a specially formulated product that conditions and reshapes brush filaments. It works by coating each filament with a flexible binding agent that trains the bristles back to their original form. This method is especially useful for brushes that did not fully recover from the boiling water treatment.
Apply a small amount of gel to the clean, damp bristles. Massage the gel gently into the filaments from the ferrule to the tip. Shape the bristles to a point with your fingers. Let the brush dry completely with the gel in place. The gel holds the filaments in position as they dry, reinforcing the desired shape.
Before your next painting session, rinse the gel out with warm water. The filaments should retain the restored point. For best results, repeat this treatment after each painting session until the brush consistently holds its shape on its own.
Pros: Purpose built for brush restoration. Works on both synthetic and natural hair. Conditions filaments and extends brush life.
Cons: Costs money compared to free methods. Requires repeated application for lasting results. Not available in every art supply store.
The Gum Arabic Alternative
Gum arabic is a natural binder used in watercolor painting. It also doubles as an excellent brush shaping agent. Some artists prefer it over egg white because it is a proper art supply with consistent quality and no expiration concerns.
Dilute a small amount of gum arabic with water to a thin, slightly sticky consistency. Dip your clean brush into the diluted solution and shape the bristles to a fine point. Let the brush dry completely. The gum arabic will stiffen the filaments and hold them in shape during storage.
Rinse the brush with water before your next painting session to remove the gum arabic coating. The filaments should spring back to a sharp point. Many professional watercolor artists use this method regularly as part of their standard brush care routine.
This approach works especially well for long term brush storage. If you plan to put a detail brush away for weeks or months, coating it with diluted gum arabic protects the point and keeps the filaments aligned.
Pros: Art grade material that will not damage brushes. Lasts a long time per bottle. Great for storage protection.
Cons: Adds an extra step to your cleaning routine. Must be rinsed out before painting. Can feel sticky if mixed too thick.
Trimming Stray Filaments with Tweezers
Sometimes a few rogue filaments refuse to cooperate. They stick out at odd angles even after reshaping. Tweezers offer a precise way to remove these problem filaments without cutting them and creating blunt, uneven tips.
Grip the stray filament as close to the ferrule as possible with fine pointed tweezers. Pull slowly and firmly to remove the entire filament from the glue base. This technique removes the hair cleanly rather than snapping it mid length, which would leave a stiff stub that pokes out even more.
Be selective and conservative with this method. Only remove filaments that clearly will not conform. Pulling too many will thin the brush and reduce its paint carrying capacity. A detail brush with fewer filaments loses its ability to hold enough paint for a clean stroke.
Pros: Precise control over individual problem filaments. Immediate improvement in brush profile. No chemicals or heat required.
Cons: Permanent removal of filaments reduces brush volume. Risk of pulling out good filaments if you are not careful. Does not fix the underlying cause of fraying.
How to Deep Clean Before Restoring
A deep clean is the essential first step before any restoration attempt. Paint residue trapped in the filaments blocks them from coming together, and no amount of reshaping will overcome that physical barrier.
Start by rinsing the brush under warm running water. Work a small amount of mild brush soap or gentle dish soap into the bristles with your fingers. Gently knead the soap through the filaments from the ferrule to the tip. Rinse thoroughly and repeat until the water runs completely clear.
For stubborn dried paint, soak the bristles in a brush cleaning solution for 10 to 15 minutes. Avoid soaking the ferrule or handle, as cleaning solutions can loosen glue and damage wood or plastic handles. After soaking, work the loosened paint out with your fingers and rinse again.
A brush comb or old toothbrush can help remove dried paint from deep within the bristles near the ferrule. Comb gently from the base to the tip. This step alone sometimes restores a surprising amount of the original point by freeing filaments that were being pushed apart by dried paint.
Preventing Future Fraying and Damage
Prevention is always better than repair. Good brush habits keep your detail brushes sharp and reduce how often you need to restore them. These habits take very little extra time but make a big difference in brush lifespan.
Never let paint dry on the brush. Clean your brushes immediately after each painting session. Even a short delay allows paint to begin drying in the ferrule, which causes long term splaying. Keep a water cup nearby while painting and rinse often during use.
Do not press hard with detail brushes. These brushes are designed for light, precise strokes. Pressing the tip flat against the painting surface bends the filaments and accelerates fraying. Let the brush do the work with minimal pressure.
Store your brushes flat or tip down in a brush holder after they are fully dry. Never store them standing tip up while wet, because dirty water runs back into the ferrule. And throw away the plastic brush caps that came with the brush. These caps are for shipping only. Replacing them on a used brush traps moisture and bends the filaments.
Apply brush conditioner or soap after cleaning and reshape the bristles to a point before storing. This simple habit keeps the filaments trained in their correct position between painting sessions.
When a Brush Is Beyond Repair
Not every frayed brush can be saved. Knowing when to retire a brush saves you time and prevents frustration. There are a few clear signs that a brush has reached the end of its useful life as a detail tool.
If the filaments are permanently kinked or curled at the tip and do not straighten even after boiling water treatment, the material has been stressed past its recovery point. Repeated bending breaks down the internal structure of synthetic filaments.
A ferrule packed with dried, hardened paint is another sign of a lost cause. When paint dries deep inside the metal collar, it creates a permanent wedge that forces the filaments apart. No external reshaping can fix an internal blockage.
Brushes that have lost a significant number of filaments through shedding or pulling also cannot be restored to fine detail work. The remaining filaments cannot form a tight enough cluster for a sharp point.
Do not throw these brushes away though. Retired detail brushes make excellent dry brushing tools, texture brushes, or paint mixers. Many artists keep a jar of old brushes specifically for rough work that would damage their good brushes.
Step by Step Summary of the Best Restoration Process
Here is the complete recommended process that combines the most effective techniques into one workflow. This combined approach gives your brush the best chance of full recovery.
Step one: Deep clean the brush with mild soap and warm water. Remove every trace of old paint. Use a brush comb if needed.
Step two: Boil water and pour it into a heat safe cup. Dip only the bristles into the boiling water for two to three seconds. Remove and reshape with your fingertips.
Step three: Repeat the boiling water dip and reshaping up to three more times if the point is not yet sharp enough.
Step four: Apply a thin coat of brush repair gel, diluted gum arabic, or egg white to the clean, reshaped bristles. Shape to a fine point one last time.
Step five: Lay the brush flat on a clean surface and let it dry completely. Do not touch the bristles during drying. Leave overnight for best results.
Step six: Before your next painting session, rinse off the coating agent with clean water. The brush should hold its restored fine point.
This process works on most synthetic detail brushes regardless of brand or filament type.
Common Mistakes to Avoid During Restoration
Several common errors can make your restoration attempt fail or even damage the brush further. Avoiding these mistakes improves your success rate significantly.
Do not submerge the ferrule in boiling water. The heat melts or softens the glue inside the metal collar. This loosens the filaments and causes shedding. Only the bristles should enter the water.
Do not use a hair dryer or heat gun to speed up drying. These tools deliver uneven, intense heat that can warp synthetic filaments permanently. Air drying at room temperature gives the best results.
Avoid using harsh solvents like acetone or paint thinner on synthetic brushes. These chemicals can dissolve or weaken the filaments. Stick to mild soap, dedicated brush cleaners, or warm water.
Do not rush the drying process. Reshaping works because the filaments set into their new position as they dry. Moving or using the brush before it is fully dry undoes the restoration. Patience is the key ingredient in every successful brush reshaping attempt.
Frequently Asked Questions
Can I use the boiling water method on natural hair brushes?
No, boiling water is too hot for natural hair brushes and can damage the fibers permanently. Natural hair brushes require simmering water, not a full boil. Dip natural hair brushes in water that is just below boiling temperature for a few seconds, then reshape gently. The process is similar but requires a lower temperature to protect the delicate animal hair fibers.
How many times can I restore a synthetic detail brush?
There is no exact limit, but each restoration cycle puts stress on the filaments. Most synthetic brushes can handle three to five full reshaping sessions before the filaments lose their ability to hold a point. Proper care and prevention between sessions extends this number. Eventually, the synthetic material fatigues and no longer responds to heat reshaping.
Will the boiling water method loosen the glue in the ferrule?
It can if you submerge the ferrule. Keep the water contact limited to the bristles only. Dip just past the tip of the ferrule at most. A quick dip of two to three seconds minimizes heat transfer to the glue. If you are careful about depth and timing, the glue inside the ferrule remains intact.
Can I use vinegar to restore frayed brushes?
Vinegar helps remove dried paint and soften hardened bristles, but it does not reshape filaments on its own. You can soak the brush in a vinegar and water solution to clean stubborn paint buildup, then follow up with the boiling water method for reshaping. Vinegar works best as a cleaning aid rather than a reshaping tool.
Is brush repair gel worth buying?
Brush repair gel is a good investment if you regularly use synthetic detail brushes and want a reliable, repeatable reshaping solution. It conditions the filaments and provides consistent results. However, the boiling water method combined with egg white or gum arabic achieves similar results at a lower cost. Brush repair gel is most useful for expensive brushes or stubborn cases where free methods did not fully work.
How should I store restored brushes to keep the point sharp?
After restoring and drying your brushes, store them flat or in a brush roll that keeps the bristles straight. Never store brushes tip up while wet. Applying a light coat of brush soap or gum arabic before storage holds the point in place until your next painting session. Avoid plastic caps, which trap moisture and bend filament tips.

Hi, I’m Zoe Ward, the creator and voice behind Fine Brush Vault. I’m passionate about art, painting, and exploring the world of colors. I spend my time testing and reviewing art supplies to help fellow creators find the best tools for their craft. Through honest reviews and detailed guides, my goal is to make your creative journey easier and more inspiring.