How to Seamlessly Blend Colored Pencils Using Odorless Mineral Spirits?
Colored pencil art looks stunning when the colors flow smoothly across the page. But getting that painted, gallery worthy finish can feel tricky with dry pencils alone.
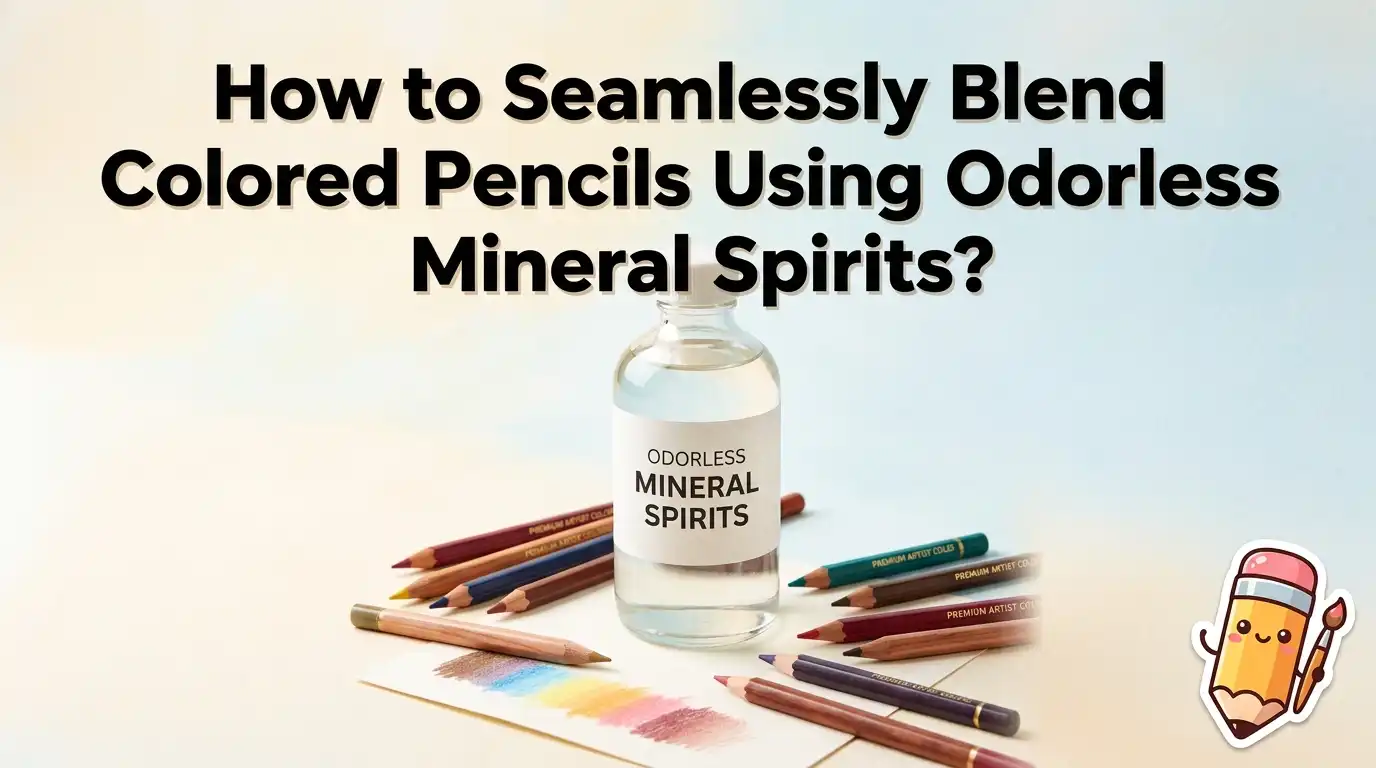
Odorless mineral spirits, often called OMS, can change the way you draw forever. This simple solvent melts the binder inside your pencil strokes and pushes the pigment into a soft, even wash.
If you have ever wanted your colored pencil work to look like a smooth oil painting, this guide is for you.
In a Nutshell:
- Use oil based or wax based colored pencils such as Faber Castell Polychromos, Prismacolor Premier, or Caran d’Ache Luminance. The more pigment the pencil holds, the better the solvent reacts with it.
- Choose Gamblin Gamsol or a similar artist grade odorless mineral spirit. Avoid hardware store solvents because they often contain extra fumes and oils that can stain paper.
- Pick heavy, sturdy paper like Stonehenge, Strathmore 500 Series, Bristol Vellum, or sanded pastel paper. Light paper will buckle and tear once it gets wet.
- Layer your colors first, then blend. OMS works by pushing existing pigment around, so a thin drawing gives a thin result. Build three or four light layers before reaching for the brush.
- Use a small amount of solvent on a soft brush. Too much liquid creates puddles and lifts pigment instead of blending it. Dab the brush on a paper towel before touching your art.
- Work in good ventilation and let each layer dry fully before adding more pencil. Drying usually takes five to ten minutes depending on room temperature.
What Are Odorless Mineral Spirits and Why Do Artists Love Them?
Odorless mineral spirits are a refined petroleum solvent. Oil painters first used them to thin paint and clean brushes. The refining process removes the strong aromatic compounds, so the smell stays very mild. This makes OMS safer to use indoors than turpentine or regular paint thinner.
Colored pencil artists love OMS because it dissolves the binder in wax and oil based pencils. The pigment then spreads into a smooth, painterly wash.
You get rid of visible pencil strokes, deepen your colors, and save hours of layering time. Gamblin Gamsol is the most trusted brand because it has the lowest level of harmful aromatics. Always store it in a sealed glass jar to keep it fresh and safe.
Choosing the Right Colored Pencils for OMS Blending
Not all colored pencils respond the same way to solvent. Oil based and wax based pencils with high pigment loads give the best results. Faber Castell Polychromos are oil based and blend beautifully into smooth, even coats. Prismacolor Premier pencils are soft and waxy, so they melt fast and create rich color washes.
Caran d’Ache Luminance and Holbein Artists’ pencils also work very well. Avoid student grade pencils because they have more wax and less pigment, which leaves a patchy result.
Pros: professional pencils blend faster, hold true color, and need fewer layers. Cons: they cost more and may feel soft, which means you sharpen them often. Pick one brand and learn how it behaves before mixing several.
Picking Paper That Can Handle the Solvent
Paper choice can make or break your blending. Thin sketch paper will warp, pill, or even tear when wet. You need a sturdy surface that holds tooth after the solvent dries. Stonehenge paper is a favorite among colored pencil artists because it stays flat and accepts many layers.
Strathmore 500 Series Bristol, Fabriano Artistico hot press, and Clairefontaine Pastelmat also handle OMS well. Sanded papers like UART and Pastelmat keep their grip even after blending, which lets you add more pencil on top.
Pros: heavy paper resists buckling and gives a smoother finish. Cons: thick paper costs more and can feel tough for small details. Always test a corner of new paper before starting a full piece.
Tools You Need to Blend with OMS
You do not need fancy gear to start. A small jar of Gamsol, a few soft synthetic brushes, and a roll of paper towels will get you going. Round brushes in sizes 2, 4, and 6 cover most areas. Use a flat brush for backgrounds and large washes.
Cotton swabs work great for tiny spots like eyes or petals. Some artists prefer a small piece of felt or a blending stump dipped in solvent for soft, controlled strokes. Keep two jars of OMS if you can: one for clean blending and one for rinsing dirty brushes.
Pros of brushes: smooth, even results. Pros of cotton swabs: precise, disposable, and cheap. Cons of swabs: they soak up too much solvent if you are not careful.
Step by Step: How to Blend Colored Pencils with OMS
Start by laying down three to four light, even layers of color on your paper. Use a sharp pencil and gentle pressure so the tooth of the paper stays open. Heavy pressure too early will stop the solvent from doing its job. Switch directions with each layer to fill any gaps.
Next, dip your brush into the OMS and dab it on a paper towel until it feels almost dry. Brush gently over your pencil work using small circular or back and forth strokes.
Let the area dry for about five minutes. Then add more pencil layers and blend again. Repeat until you reach the depth and smoothness you want. Patience is the secret here.
Layering Techniques That Make OMS Blending Pop
The real magic happens when you build many layers. Each pass of pencil and solvent deepens the color and softens the texture. Start with your lightest colors and work toward the darkest. This keeps your highlights clean and stops muddy tones from forming.
Try blending after every two or three layers instead of waiting until the end. This method creates rich, glowing color that looks almost like oil paint. Use a light touch with the brush so you do not lift pigment off the paper.
If you want extra depth, add a final layer of pencil on top without blending it. This gives texture and visible strokes that catch the eye and add interest to your piece.
Common Mistakes to Avoid When Using OMS
The biggest mistake is using too much solvent. A soaked brush creates puddles, lifts pigment, and leaves blotchy spots. Always blot your brush on a paper towel before touching the paper. Another common error is blending too early. If you only have one thin layer of pencil, the solvent has nothing to push around.
Skipping ventilation is risky even with low odor solvents. Open a window or run a fan. Using cheap paper leads to buckling and tearing.
Cleaning your brush between colors matters too, or you will drag muddy tones into clean areas. Finally, do not rush the drying time. Adding pencil to a wet surface can scratch the paper and ruin your work.
Safety Tips Every Artist Should Know
Even though OMS smells mild, it is still a petroleum product. Always work in a room with fresh air flowing. Keep the jar sealed when you are not using it.
Store it away from heat, flames, and direct sunlight. Never pour used solvent down the drain because it can harm pipes and the environment.
Let dirty solvent settle in a sealed jar for a few days, then pour the clear liquid into a clean jar and reuse it. Throw away the sediment with your local hazardous waste service.
Wear gloves if you have sensitive skin, and wash your hands after each session. Keep OMS far from kids and pets. Safety first means you can enjoy this technique for many years.
Comparing OMS with Other Blending Methods
OMS is not the only way to blend colored pencils. Colorless blender pencils, baby oil, rubbing alcohol, and burnishing with a white pencil all work too.
Each method has trade offs you should know. Colorless blenders are easy and clean but can leave streaks and lift color if used too hard.
Baby oil blends well but never fully dries, which can leave your art tacky for weeks. Rubbing alcohol works fast but evaporates too quickly for smooth results.
Pros of OMS: even blending, fast drying, deep color, and reworkable layers. Cons of OMS: the smell, the cost, and the need for proper storage. For most artists, OMS gives the best mix of control, finish, and safety.
Fixing Mistakes After Blending
Mistakes happen, and the good news is that OMS art is forgiving. If a color goes too dark, you can lift some pigment with a clean brush dipped in fresh solvent. Blot the spot gently with a paper towel to pull color off the paper. Let it dry, then add lighter pencil layers on top.
If you blended a spot too smooth and lost the tooth, sprinkle a tiny bit of pencil dust over it and blend again.
For sharp edges that got fuzzy, wait until everything dries and redraw the line with a sharp pencil. A kneaded eraser can also lift small amounts of color without damaging the paper. Stay calm, work slowly, and most issues can be fixed.
Tips for Getting Smooth, Painterly Results
Smooth blending comes from light pressure and many thin layers. Pressing too hard flattens the tooth of the paper and stops new layers from sticking. Use sharp pencils so the pigment lays down evenly. Hold the pencil at a low angle for soft, broad strokes.
Blend in the same direction as the form you are drawing. For a round apple, use curved strokes that follow the shape. This makes the final blend look natural and three dimensional.
Keep your brushes clean and your solvent fresh. Work from background to foreground so you do not smudge finished areas. Take breaks and step back from your work often. Fresh eyes catch problems that close inspection misses.
When to Use OMS and When to Skip It
OMS is perfect for backgrounds, skin tones, skies, water, and any area where you want a smooth finish. It is also great for deepening dark values without dozens of pencil layers. If you want a soft glow or a realistic look, OMS will help you get there faster.
Skip OMS when you want visible pencil strokes for texture, like fur, hair, or rough bark. Dry blending or a colorless blender pencil works better for those details.
You can also mix techniques in one piece. Use OMS for the smooth parts and dry pencil for the textured ones. This gives your art depth, contrast, and a professional finish that grabs attention.
FAQs
Can I use any odorless mineral spirits, or do I need an artist brand?
Artist grade OMS like Gamblin Gamsol is the safest choice. Hardware store versions often contain extra additives that can stain paper or leave oily residue. Stick with art brands for best results.
How long does it take for OMS to dry on paper?
Drying usually takes five to ten minutes depending on how much solvent you used and the room temperature. Thicker layers and humid rooms take longer. Always wait until the paper feels dry to the touch before adding more pencil.
Will OMS damage my colored pencils or brushes?
No, OMS is safe for your pencils and synthetic brushes. Rinse your brushes in clean solvent after each session and wipe them on a paper towel. Avoid natural hair brushes because the solvent can break down the fibers over time.
Can I use OMS with watercolor pencils?
OMS does not work well with watercolor pencils because they are made with water soluble binders. Use water with watercolor pencils and save OMS for wax or oil based pencils like Polychromos or Prismacolor.
Is it safe to use OMS indoors?
Yes, as long as you have good ventilation. Open a window or run a small fan. Keep the jar sealed when not in use and store it away from heat. Wash your hands after each session to remove any residue.

Hi, I’m Zoe Ward, the creator and voice behind Fine Brush Vault. I’m passionate about art, painting, and exploring the world of colors. I spend my time testing and reviewing art supplies to help fellow creators find the best tools for their craft. Through honest reviews and detailed guides, my goal is to make your creative journey easier and more inspiring.